
Create your Waiver Application Form from scratch
Start Building Now




Here's how it works
A detailed guide on how to craft your Waiver Application Form online
Step 1: Start with DocHub's free trial.
Visit the DocHub website and register for the free trial. This gives you access to every feature you’ll require to create your Waiver Application Form without any upfront cost.
Step 2: Navigate to your dashboard.
Sign in to your DocHub account and go to the dashboard.
Step 3: Initiate a new document.
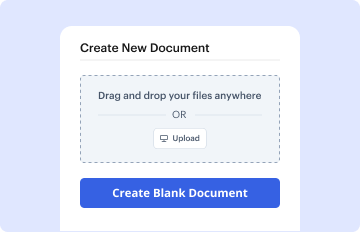
Hit New Document in your dashboard, and select Create Blank Document to design your Waiver Application Form from the ground up.
Step 4: Utilize editing tools.
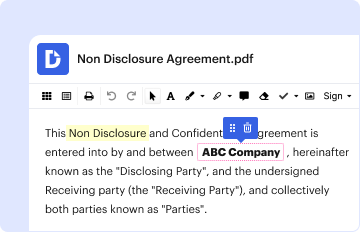
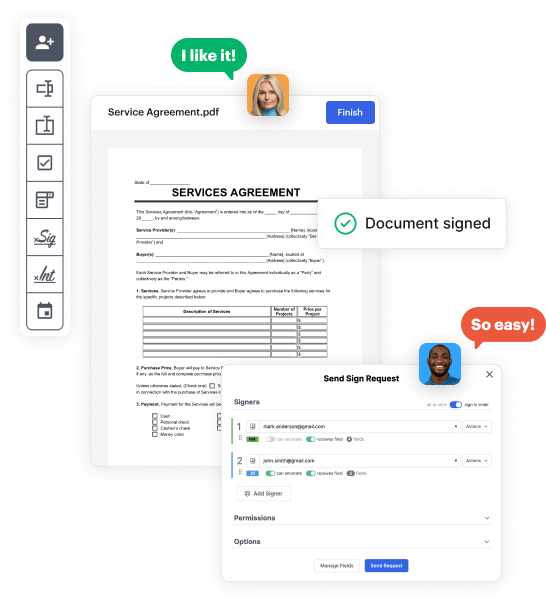
Place various fields such as text boxes, radio buttons, icons, signatures, etc. Organize these elements to suit the layout of your form and assign them to recipients if needed.
Step 5: Organize the form layout.
Rearrange your form effortlessly by adding, moving, removing, or combining pages with just a few clicks.
Step 6: Craft the Waiver Application Form template.
Transform your newly designed form into a template if you need to send many copies of the same document numerous times.
Step 7: Save, export, or share the form.
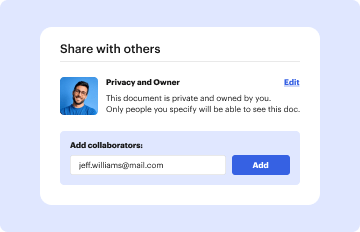
Send the form via email, share a public link, or even post it online if you wish to collect responses from a broader audience.