




Here's how it works
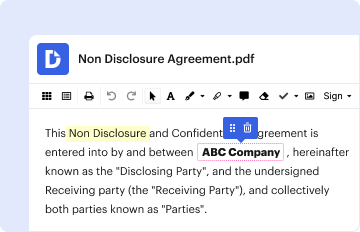
01. Edit your form online
Type text, add images, blackout confidential details, add comments, highlights and more.
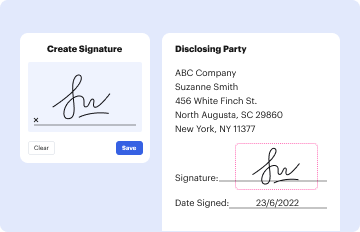
02. Sign it in a few clicks
Draw your signature, type it, upload its image, or use your mobile device as a signature pad.
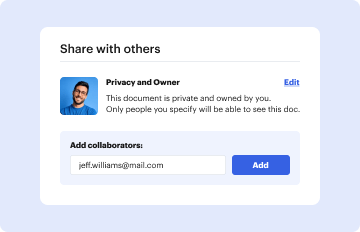
03. Share your form with others
Send it via email, link, or fax. You can also download it, export it or print it out.
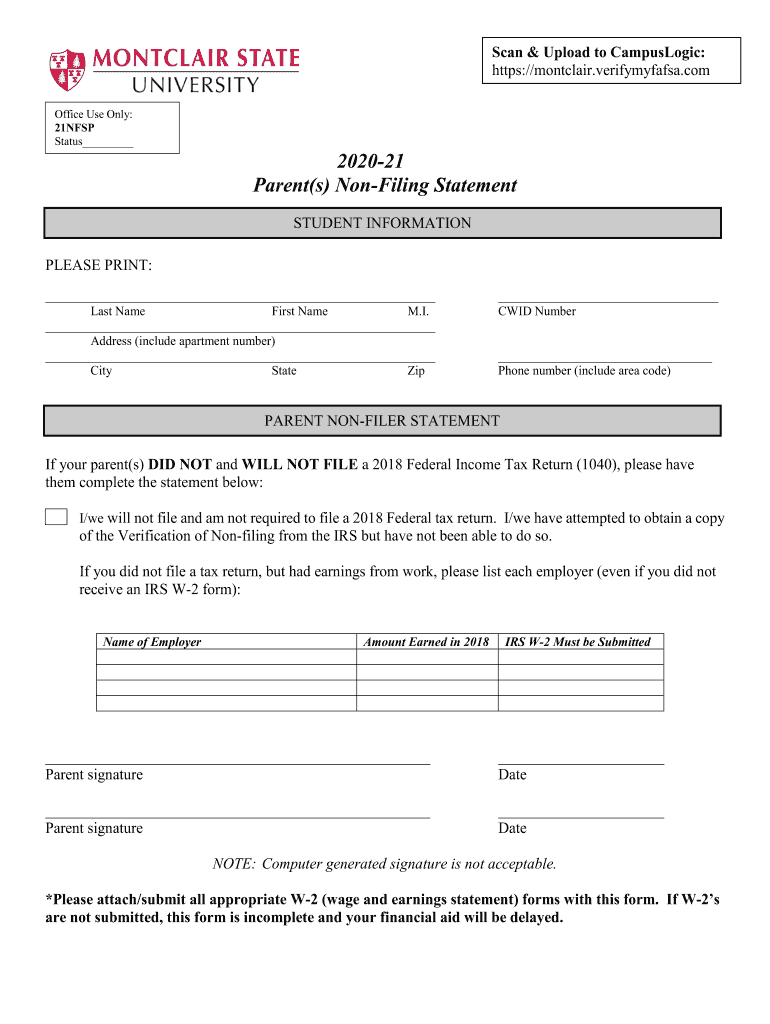
How to use or fill out Scan & Upload to CampusLogic: with DocHub

- Click ‘Get Form’ to open it in the editor.
- Begin by filling in your personal information. Enter your last name, first name, and middle initial in the designated fields. Ensure accuracy for proper identification.
- Next, provide your complete address, including any apartment number, city, state, and zip code. This information is crucial for correspondence.
- Input your CWID number and phone number with area code. This helps the institution contact you if needed.
- For the Parent Non-Filer Statement section, ensure that your parent(s) confirm they will not file a 2018 Federal Income Tax Return by completing the statement provided.
- If applicable, list each employer along with the amount earned in 2018. Remember to indicate if an IRS W-2 must be submitted.
- Finally, both parents must sign and date the form. Note that computer-generated signatures are not acceptable.
Start using our platform today to streamline your document submission process for free!
Fill out Scan & Upload to CampusLogic: online
It's free
It's free
See more Scan & Upload to CampusLogic: versions
We've got more versions of the Scan & Upload to CampusLogic: form. Select the right Scan & Upload to CampusLogic: version from the list and start editing it straight away!
| Versions | Form popularity | Fillable & printable |
|---|---|---|
| 2020 | 4.8 Satisfied (175 Votes) |
Security and compliance
At DocHub, your data security is our priority. We follow HIPAA, SOC2, GDPR, and other standards, so you can work on your documents with confidence.
Learn more


