Type text, add images, blackout confidential details, add comments, highlights and more.
02. Sign it in a few clicks
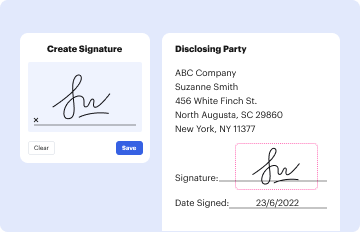
Draw your signature, type it, upload its image, or use your mobile device as a signature pad.
03. Share your form with others
Send it via email, link, or fax. You can also download it, export it or print it out.
How to use or fill out ucsf radiology billing with our platform
Ease of Setup
DocHub User Ratings on G2
Ease of Use
DocHub User Ratings on G2
Click ‘Get Form’ to open the UCSF Radiology Billing form in the editor.
Begin by filling out the Patient Information section. Enter the patient's name, date of birth, medical record number (MRN), and contact numbers for home and cell.
Next, provide details for the Referring Physician. Include the physician's name, office contact person, and their phone, pager, and fax numbers.
In the Diagnosis/Clinical Indications section, ensure you enter the UCA Attending Physician ID and check if an MD signature is required.
For Exam Requested, carefully check all applicable studies from MRI to X-Ray. Make sure to complete any required sections below this field.
Fill in the Patient Appointment Date, Time, and Location accurately to avoid scheduling issues.
Finally, review all entries for accuracy before saving or submitting your completed form through our platform.
Start using our platform today for free to streamline your UCSF Radiology Billing process!
Providers must document bilateral services when billing more than one unit for CPT codes 73218 thru 73223 and 73718 thru 73723. MRI Methodologies. One MRIRead more
UCSF Health contracts with most major health insurance companies. Many insurance plans (including PPOs) require prior authorization for radiology services.Read more
Cookie consent notice
This site uses cookies to enhance site navigation and personalize your experience.
By using this site you agree to our use of cookies as described in our Privacy Notice.
You can modify your selections by visiting our Cookie and Advertising Notice.