Create your Refusal Letter from scratch
Start Building Now




Here's how it works
A brief guide on how to set up a professional-looking Refusal Letter
Step 1: Sign in to DocHub to begin creating your Refusal Letter.
First, sign in to your DocHub account. If you don't have one, you can easily sign up for free.
Step 2: Navigate to the dashboard.
Once signed in, access your dashboard. This is your primary hub for all document-centric operations.
Step 3: Start new document creation.
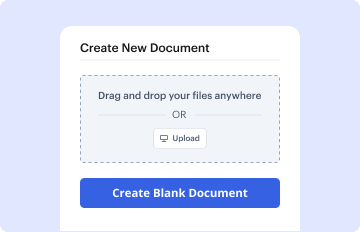
In your dashboard, select New Document in the upper left corner. Choose Create Blank Document to craft the Refusal Letter from a blank slate.
Step 4: Add template fillable areas.
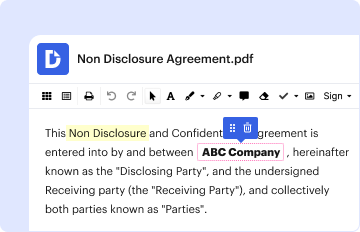
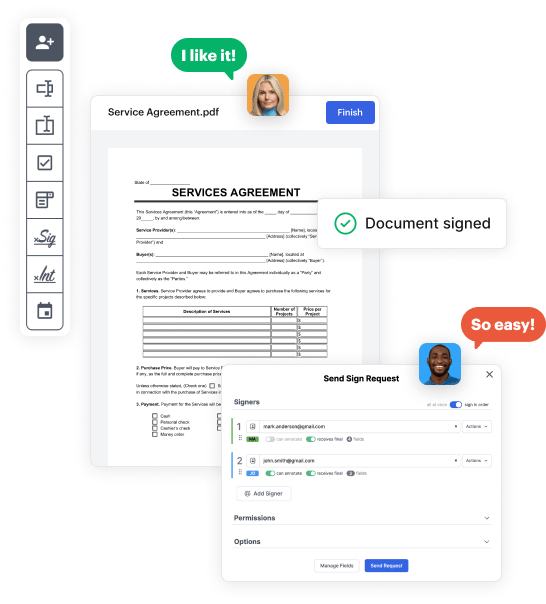
Add different fields like text boxes, images, signature fields, and other options to your template and designate these fields to specific individuals as needed.
Step 5: Fine-tune your document.
Refine your template by incorporating directions or any other crucial details leveraging the text feature.
Step 6: Review and adjust the form.
Meticulously examine your created Refusal Letter for any discrepancies or necessary adjustments. Make use of DocHub's editing tools to enhance your document.
Step 7: Share or export the document.
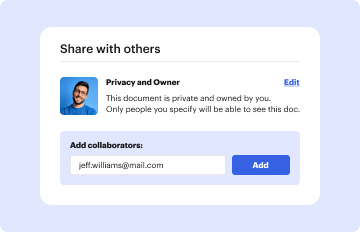
After completing, save your copy. You may select to retain it within DocHub, transfer it to various storage solutions, or forward it via a link or email.