
Create your Legal Lease Document from scratch
Start Building Now




Here's how it works
A quick guide on how to set up a polished Legal Lease Document
Step 1: Sign in to DocHub to begin creating your Legal Lease Document.
First, log in to your DocHub account. If you don't have one, you can simply sign up for free.
Step 2: Go to the dashboard.
Once you’re in, go to your dashboard. This is your primary hub for all document-related processes.
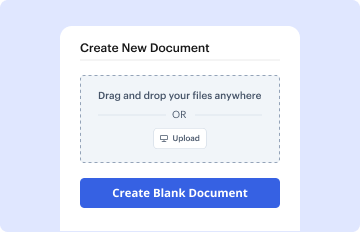
Step 3: Kick off new document creation.
In your dashboard, click on New Document in the upper left corner. Choose Create Blank Document to put together the Legal Lease Document from the ground up.
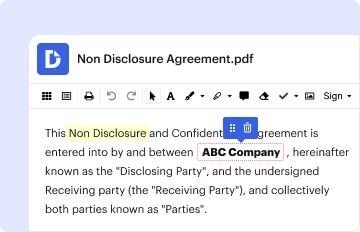
Step 4: Add template elements.
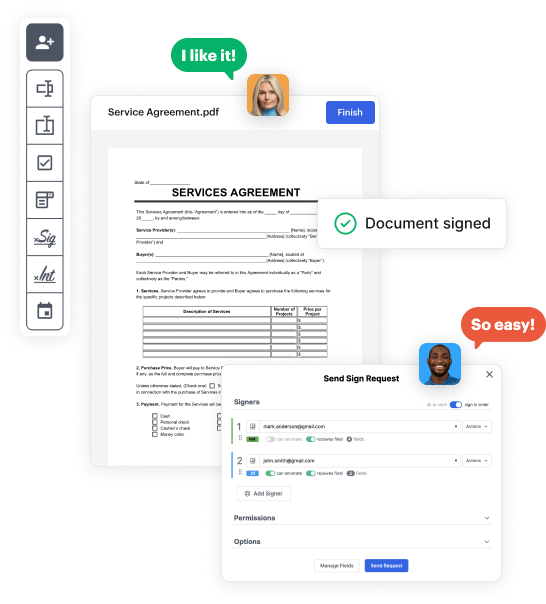
Add different fields like text boxes, photos, signature fields, and other options to your template and assign these fields to intended individuals as required.
Step 5: Personalize your document.
Personalize your form by incorporating walkthroughs or any other essential information using the text feature.
Step 6: Go over and modify the document.
Thoroughly go over your created Legal Lease Document for any errors or required adjustments. Leverage DocHub's editing features to perfect your document.
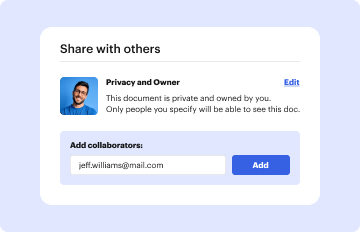
Step 7: Send out or export the document.
After finalizing, save your file. You may opt to save it within DocHub, transfer it to various storage solutions, or send it via a link or email.