
Create your Chapter 13 Bankruptcy Form from scratch
Start Building Now




Here's how it works
A quick tutorial on how to set up a polished Chapter 13 Bankruptcy Form
Step 1: Sign in to DocHub to begin creating your Chapter 13 Bankruptcy Form.
First, sign in to your DocHub account. If you don't have one, you can simply sign up for free.
Step 2: Head to the dashboard.
Once you’re in, navigate to your dashboard. This is your main hub for all document-centric tasks.
Step 3: Launch new document creation.
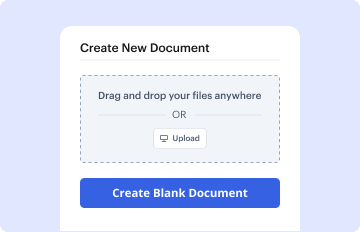
In your dashboard, select New Document in the upper left corner. Opt for Create Blank Document to build the Chapter 13 Bankruptcy Form from scratch.
Step 4: Incorporate template fillable areas.
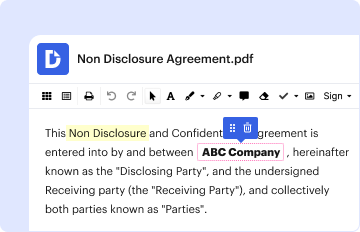
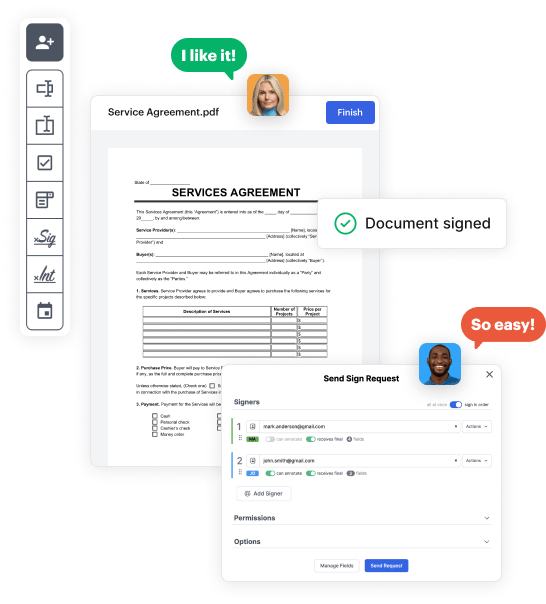
Place numerous fields like text boxes, images, signature fields, and other elements to your template and designate these fields to intended users as necessary.
Step 5: Fine-tune your template.
Customize your document by inserting directions or any other essential details leveraging the text feature.
Step 6: Review and refine the content of the form.
Carefully go over your created Chapter 13 Bankruptcy Form for any typos or necessary adjustments. Take advantage of DocHub's editing features to polish your template.
Step 7: Distribute or download the template.
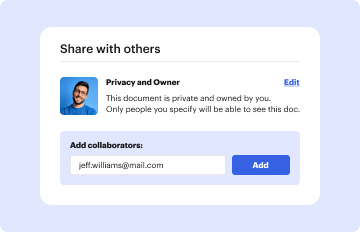
After finalizing, save your file. You may choose to save it within DocHub, transfer it to various storage services, or forward it via a link or email.