
Create your Quilting Canada Form from scratch
Start Building Now




Here's how it works
A quick tutorial on how to build a professional-looking Quilting Canada Form
Step 1: Sign in to DocHub to create your Quilting Canada Form.
First, sign in to your DocHub account. If you don't have one, you can simply register for free.
Step 2: Navigate to the dashboard.
Once logged in, navigate to your dashboard. This is your main hub for all document-centric operations.
Step 3: Kick off new document creation.
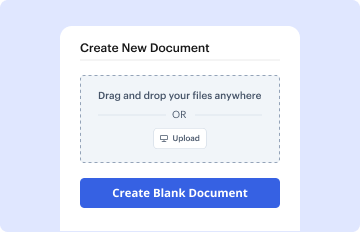
In your dashboard, hit New Document in the upper left corner. Opt for Create Blank Document to build the Quilting Canada Form from the ground up.
Step 4: Add form fillable areas.
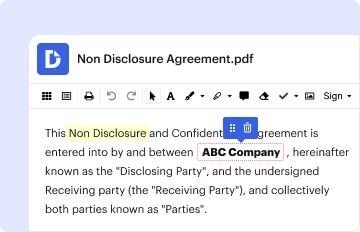
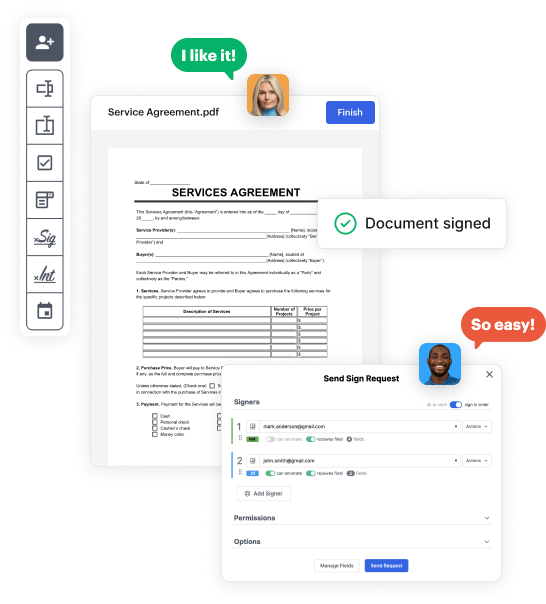
Add different fields like text boxes, images, signature fields, and other elements to your form and assign these fields to specific individuals as needed.
Step 5: Fine-tune your form.
Customize your template by adding walkthroughs or any other essential details utilizing the text tool.
Step 6: Review and tweak the form.
Attentively check your created Quilting Canada Form for any inaccuracies or needed adjustments. Leverage DocHub's editing features to polish your form.
Step 7: Send out or export the form.
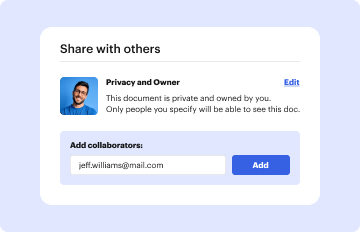
After completing, save your work. You may choose to retain it within DocHub, transfer it to various storage solutions, or forward it via a link or email.