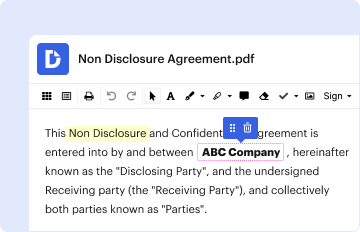
Type text, add images, blackout confidential details, add comments, highlights and more.
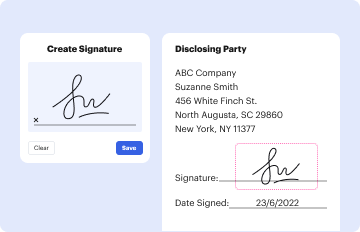
02. Sign it in a few clicks
Draw your signature, type it, upload its image, or use your mobile device as a signature pad.
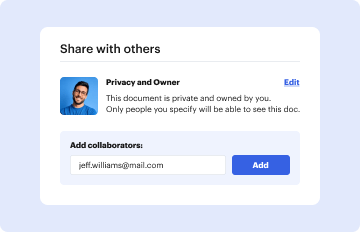
03. Share your form with others
Send it via email, link, or fax. You can also download it, export it or print it out.
How to use or fill out Clover Sites Help Center Revert and Publish Buttons with DocHub
Ease of Setup
DocHub User Ratings on G2
Ease of Use
DocHub User Ratings on G2
Click ‘Get Form’ to open it in the editor.
Begin by filling in the RSVP Party Name, RSVP Number, and Number in Party fields. These are essential for identifying your group.
Next, enter the Activity Date, Time, and Type. This information is crucial for scheduling and organizing your participation.
Proceed to the Release of Liability section. Fill in your full legal name, address, city, state, zip code, phone number, and email. Ensure all details are accurate for effective communication.
Complete the Emergency Contact section by providing their full name and relationship to you. Include their phone numbers for quick access during emergencies.
Read through the Activity Participation Acknowledgement and Risk Acknowledgement sections carefully before signing. Your signature confirms your understanding of the risks involved.
If applicable, have a parent or guardian sign on behalf of a minor participant in the designated area.
Start using our platform today to streamline your document editing experience for free!
Fill out Clover Sites Help Center Revert and Publish Buttons online It's free
See more Clover Sites Help Center Revert and Publish Buttons versions
We've got more versions of the Clover Sites Help Center Revert and Publish Buttons form. Select the right Clover Sites Help Center Revert and Publish Buttons version from the list and start editing it straight away!
Clover sites help center revert and publish buttons not workingClover sites help center revert and publish buttons iphoneClover customer service number 24/7Clover sites help center revert and publish buttons androidClover customer support phone numberClover customer service emailClover customer service phone number live personClover merchant support phone number
Security and compliance
At DocHub, your data security is our priority. We follow HIPAA, SOC2, GDPR, and other standards, so you can work on your documents with confidence.
Cus- tomize your buttons? Click help at the top of the webpage and select Step-by-Step. Videos from the Wix Video Help Center to learn how! If you doRead more
Cookie consent notice
This site uses cookies to enhance site navigation and personalize your experience.
By using this site you agree to our use of cookies as described in our Privacy Notice.
You can modify your selections by visiting our Cookie and Advertising Notice.