Shopify Imagery 2026

Get Form
Shopify Imagery Preview on Page 1

Here's how it works

01. Edit your form online
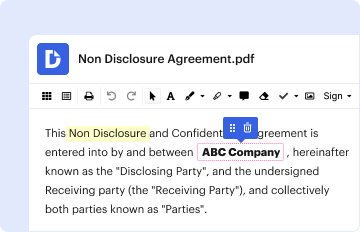
Type text, add images, blackout confidential details, add comments, highlights and more.

02. Sign it in a few clicks
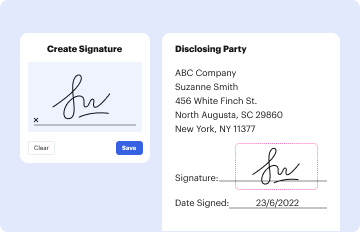
Draw your signature, type it, upload its image, or use your mobile device as a signature pad.

03. Share your form with others
Send it via email, link, or fax. You can also download it, export it or print it out.

How to use or fill out Shopify Imagery with our platform

Form edit decoration
9.5
Ease of Setup
DocHub User Ratings on G2
9.0
Ease of Use
DocHub User Ratings on G2
  1. Click ‘Get Form’ to open the Shopify Imagery document in the editor.
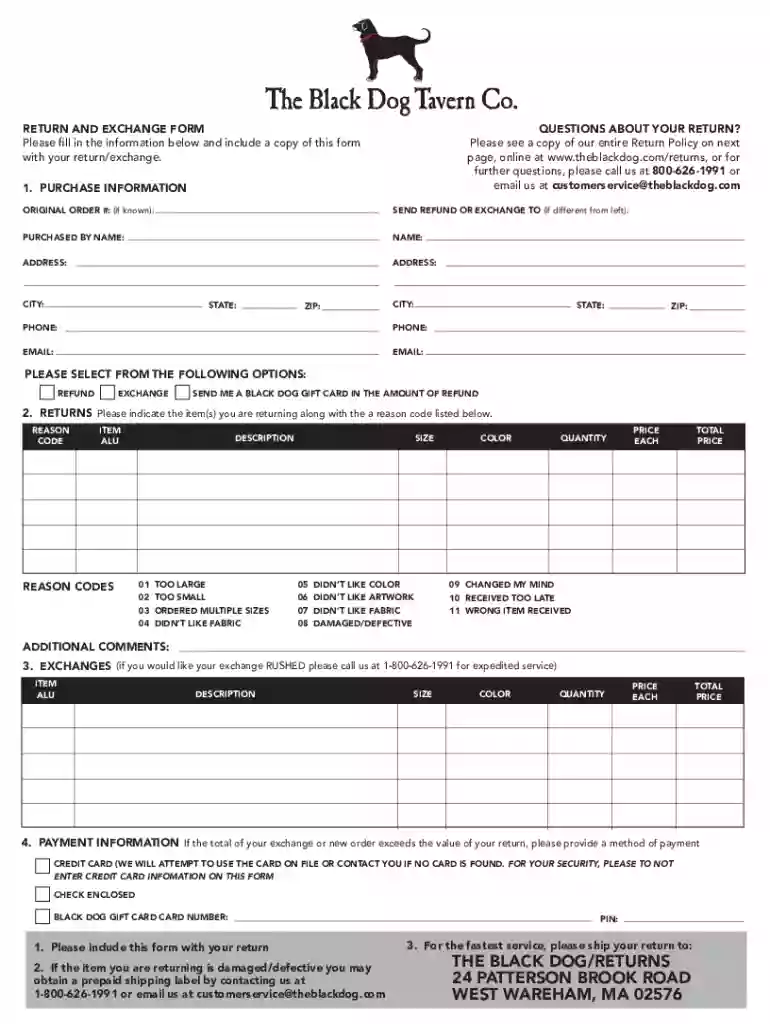
  2. Begin by filling out the 'Purchase Information' section. Enter your original order number if known, and provide your name, address, city, state, zip code, phone number, and email. If you want the refund or exchange sent to a different address, include that information as well.
  3. Select your preferred option for processing: Refund, Exchange, or Gift Card. This will guide how your request is handled.
  4. In the 'Returns' section, list the items you are returning along with their reason codes from the provided list. Include details such as size, color, quantity, and price for each item.
  5. If you are requesting an exchange and need it rushed, note that you should call customer service for expedited service. Fill in the necessary details for the exchange items.
  6. Finally, complete the 'Payment Information' section if applicable. Indicate your payment method without entering sensitive credit card information directly on this form.

Start using our platform today to streamline your return and exchange process effortlessly!

See more Shopify Imagery versions

We've got more versions of the Shopify Imagery form. Select the right Shopify Imagery version from the list and start editing it straight away!
Versions Form popularity Fillable & printable
2017 4.2 Satisfied (55 Votes)
2016 4 Satisfied (27 Votes)
be ready to get more

Complete this form in 5 minutes or less

Get form

Got questions?

We have answers to the most popular questions from our customers. If you can't find an answer to your question, please contact us.
Contact us

Yes, you can use DocHub for signing any business and private documentation, including your Shopify Imagery. All electronic signatures you generate with our tool are legally binding and court-admissible, as DocHub complies with criteria required by ESIGN and UETA. Save your completed document with a detailed Audit Trail if necessary.

You need only a web connection and a browser to fill out your Shopify Imagery by using an iOS phone. Open the DocHub website and authenticate. Then, add your file or select it from the list in your dashboard. Then use our editing tools to fill out your form and save all your adjustments. You can also send it to a specified recipient right away.

Steps: From your Shopify admin, go to the media file that you want to edit. Click the pencil icon, or click the thumbnail to open the media editor. Click Resize. Enter the new width for the image. Click Done to resize the image. When youre done making edits in the media editor, click Save. Using the media editor - Shopify Help Center Shopify Help Center manual productivity-tools Shopify Help Center manual productivity-tools
You can also access product media and other files by navigating to Content Files within the Shopify admin. You can filter your list of files using the Used in search dropdown and selecting Product media. The Files section of the admin allows you to view all your files used across every product in your store.
0:12 3:21 Store this would include featured images like featured blog images. And it also includes all of yourMoreStore this would include featured images like featured blog images. And it also includes all of your product images here as well you can also upload files by simply clicking on this button.

Security and compliance

At DocHub, your data security is our priority. We follow HIPAA, SOC2, GDPR, and other standards, so you can work on your documents with confidence.

Learn more
ccpa2
pci-dss
gdpr-compliance
hipaa
soc-compliance

People also ask

From your Shopify admin, go to Products . Click the name of the product that you want to edit. In the Variants section, click the image icon next to the variant that you want to add image to. Select a product image from your existing images or click Add image to upload a new image from your device.
4:22 6:30 So go and reload my Shopify. Store i can see my photo gallery. Link has been included in the topMoreSo go and reload my Shopify. Store i can see my photo gallery. Link has been included in the top here. And if I go and click on it its going to open up my gallery. How to Add Photo Gallery on Shopify Website Dawn Theme - YouTube YouTube Ecom Masterclass YouTube Ecom Masterclass
You can also access product media and other files by navigating to Content Files within the Shopify admin. You can filter your list of files using the Used in search dropdown and selecting Product media. The Files section of the admin allows you to view all your files used across every product in your store. Product media - Shopify Help Center Shopify Help Center manual products product- Shopify Help Center manual products product-
Log in to your Shopify admin and go to ProductsAllproducts. Select the product that you want to add a photo for. In the Media section, upload your photos. Then choose the image(s) you want to add to your product.
The Files section is where you can manage all files uploaded to your store, including images, videos, 3D models, and other file types, such as PDFs and CSV files. You can upload, manage, and delete files from the Files section in your Shopify admin. Uploading and managing files - Shopify Help Center Shopify Help Center productivity-tools file-uploads Shopify Help Center productivity-tools file-uploads

Related links