
Create your Post Canada Form from scratch
Start Building Now




Here's how it works
A simple tutorial on how to build a polished Post Canada Form
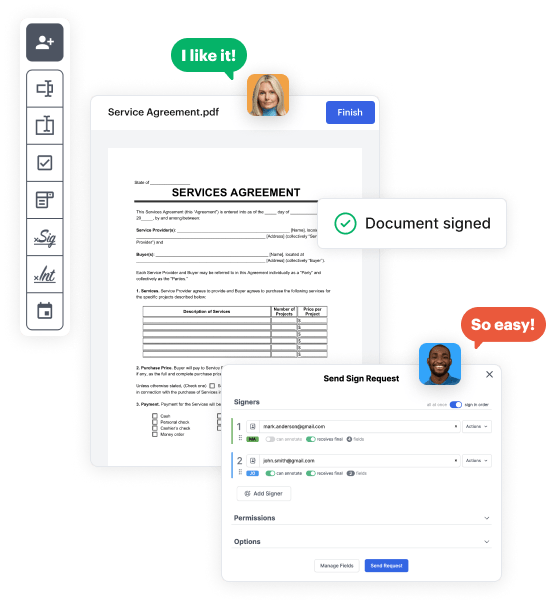
Step 1: Sign in to DocHub to create your Post Canada Form.
First, log in to your DocHub account. If you don't have one, you can easily sign up for free.
Step 2: Navigate to the dashboard.
Once you’re in, head to your dashboard. This is your main hub for all document-centric activities.
Step 3: Start new document creation.
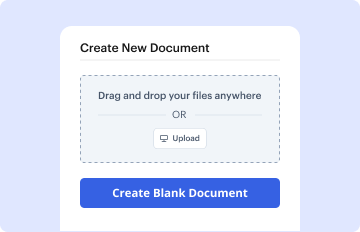
In your dashboard, hit New Document in the upper left corner. Select Create Blank Document to design the Post Canada Form from the ground up.
Step 4: Incorporate template fillable areas.
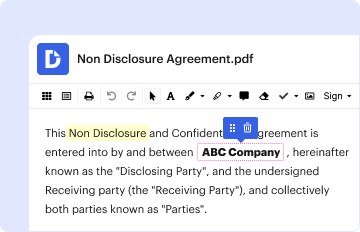
Add various items like text boxes, photos, signature fields, and other interactive areas to your template and designate these fields to certain users as needed.
Step 5: Fine-tune your template.
Personalize your document by inserting directions or any other required information utilizing the text tool.
Step 6: Double-check and adjust the form.
Thoroughly go over your created Post Canada Form for any mistakes or essential adjustments. Utilize DocHub's editing features to polish your template.
Step 7: Send out or export the template.
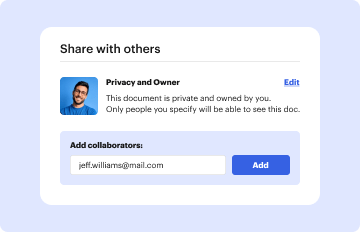
After completing, save your work. You may choose to keep it within DocHub, export it to various storage platforms, or forward it via a link or email.