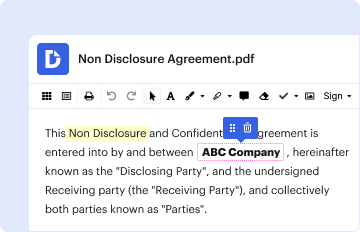
Type text, add images, blackout confidential details, add comments, highlights and more.
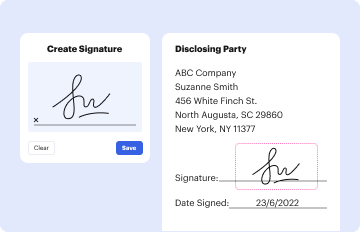
02. Sign it in a few clicks
Draw your signature, type it, upload its image, or use your mobile device as a signature pad.
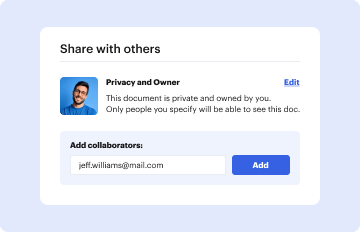
03. Share your form with others
Send biomet 3i implant catalog via email, link, or fax. You can also download it, export it or print it out.
How to use or fill out 3i form biomet with our platform
Ease of Setup
DocHub User Ratings on G2
Ease of Use
DocHub User Ratings on G2
Click ‘Get Form’ to open the 3i form biomet in the editor.
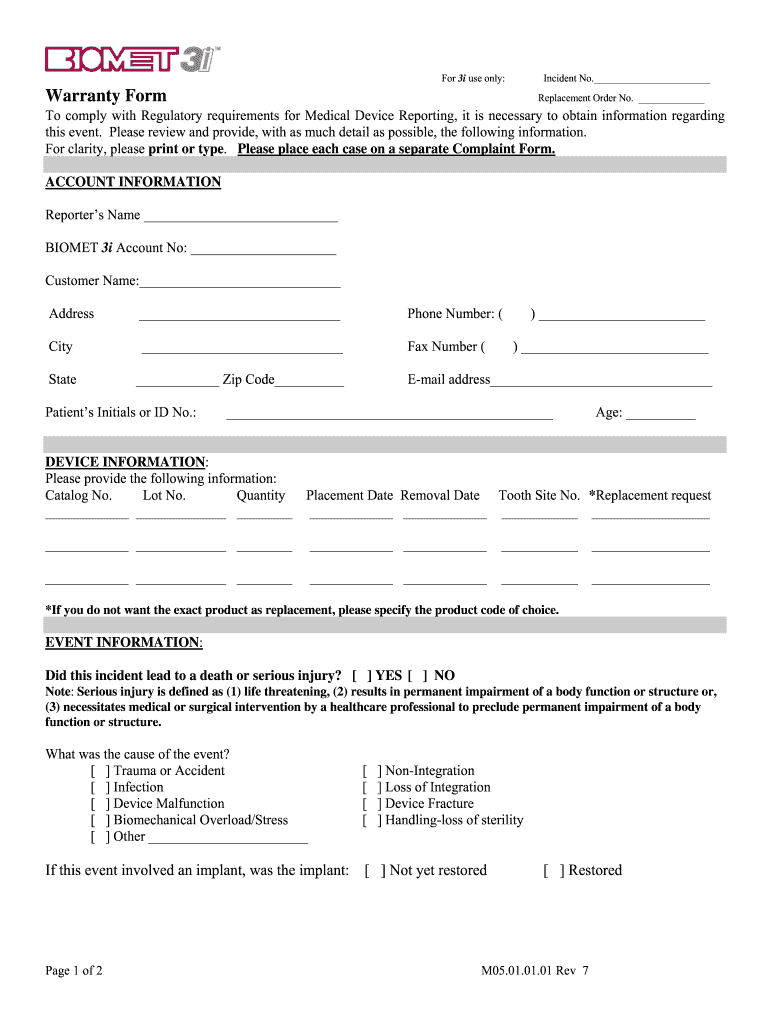
Begin by filling in the 'Incident No.' and 'Replacement Order No.' at the top of the form. Ensure these numbers are accurate for tracking purposes.
In the 'ACCOUNT INFORMATION' section, provide your name, BIOMET 3i Account Number, customer details, and contact information. Be sure to print or type clearly for legibility.
Next, move to the 'DEVICE INFORMATION' section. Fill in details such as Catalog No., Lot No., Quantity, Placement Date, and Removal Date. If applicable, specify any replacement requests.
Proceed to 'EVENT INFORMATION'. Indicate whether the incident led to a death or serious injury and select the cause of the event from the provided options.
For implants only, answer questions regarding patient profile and implant placement specifics. Provide detailed descriptions where necessary.
Finally, review all sections for completeness before signing and dating at the bottom of the form. Make a copy for your records before submission.
Start using our platform today to fill out your 3i form biomet easily and efficiently!
by KJ Howell 2011 Before the outline form is created, the robot selects the correct sized bur and scans the edges of the bur with a laser to calibrate the robot. Once calibrated,Read more
Cookie consent notice
This site uses cookies to enhance site navigation and personalize your experience.
By using this site you agree to our use of cookies as described in our Privacy Notice.
You can modify your selections by visiting our Cookie and Advertising Notice.