
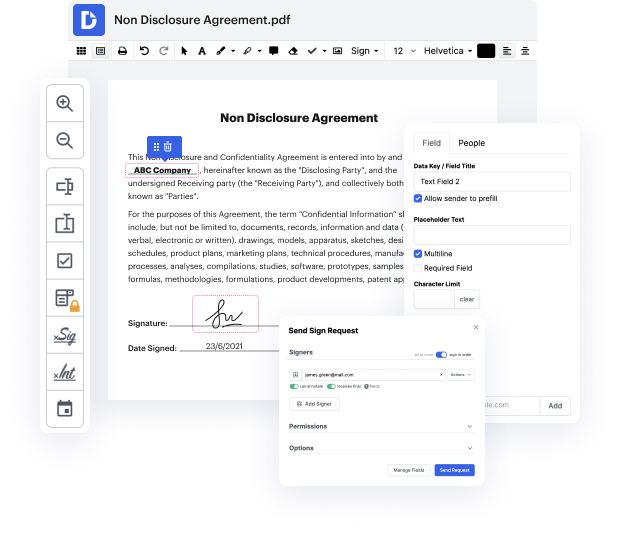
Blur content of PDF in macOS in no time

Aug 6th, 2022
forms filled out
0
forms filled out
forms signed
0
forms signed
forms sent
0
forms sent
Service screenshot
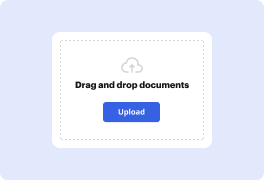
01. Upload a document from your computer or cloud storage.
Service screenshot
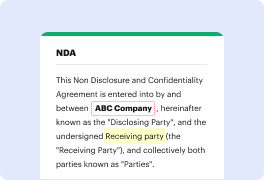
02. Add text, images, drawings, shapes, and more.
Service screenshot
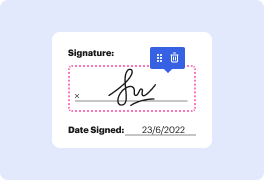
03. Sign your document online in a few clicks.
Service screenshot
04. Send, export, fax, download, or print out your document.

How to blur content of PDF in MacOS with DocHub

Form edit decoration

In today’s digital landscape, managing documents efficiently is essential. Our platform offers powerful tools that enable users to edit, sign, and distribute documents seamlessly. Whether you’re working within Google Workspace or using our online editor, you can easily modify your PDFs for free. With the introduction of iOS 17, 18, and 19, document management has become even more intuitive, making it easier to focus on what matters most.

Follow the steps to blur content of PDF in MacOS

  1. Open your web browser and navigate to the DocHub website. Log in to your account or create a new one if you haven't already.
  2. Once logged in, upload the PDF document you wish to edit by dragging it into the designated area or using the import options.
  3. Access the editing tools available on our platform. Select the tool that allows you to modify the content visually.
  4. Locate the areas of your PDF that you want to blur. Adjust the settings as needed, ensuring that the desired content is obscured appropriately.
  5. After applying the blur effect, review your document to confirm that all necessary content is adequately obscured.
  6. Finally, download your edited PDF, print it, or share it directly from our platform, ensuring your document management process is complete.

Start using DocHub today to enhance your document editing experience effortlessly!

PDF editing simplified with DocHub

icon
Seamless PDF editing
Editing a PDF is as simple as working in a Word document. You can add text, drawings, highlights, and redact or annotate your document without affecting its quality. No rasterized text or removed fields. Use an online PDF editor to get your perfect document in minutes.
icon
Smooth teamwork
Collaborate on documents with your team using a desktop or mobile device. Let others view, edit, comment on, and sign your documents online. You can also make your form public and share its URL anywhere.
icon
Automatic saving
Every change you make in a document is automatically saved to the cloud and synchronized across all devices in real-time. No need to send new versions of a document or worry about losing information.
icon
Google integrations
DocHub integrates with Google Workspace so you can import, edit, and sign your documents directly from your Gmail, Google Drive, and Dropbox. When finished, export documents to Google Drive or import your Google Address Book and share the document with your contacts.
icon
Powerful PDF tools on your mobile device
Keep your work flowing even when you're away from your computer. DocHub works on mobile just as easily as it does on desktop. Edit, annotate, and sign documents from the convenience of your smartphone or tablet. No need to install the app.
icon
Secure document sharing and storage
Instantly share, email, and fax documents in a secure and compliant way. Set a password, place your documents in encrypted folders, and enable recipient authentication to control who accesses your documents. When completed, keep your documents secure in the cloud.
dochub logo
google logo

Drive efficiency with the DocHub add-on for Google Workspace

Access documents and edit, sign, and share them straight from your favorite Google Apps.
Install now

Got questions about mac preview blur?

Here are some common questions from our customers that may provide you with the answer you need. If you can’t find the answer to your blur in preview-related question, please don’t hesitate to rich out to us.
Contact us
Blur Image background in iPhoto Click on the Effects button and select the Edge Blur feature. You can adjust the blur level on a scale from 1 to 11, depending on how much blur you want to apply, and once you click OK, the background of your image will be blurred. How to blur the image background on Mac OS wondershare.com photo-editing-tips ho wondershare.com photo-editing-tips ho
Using your mouse cursor, highlight the text you want to redact. A temporary red redaction box appears to let you confirm the text you wish to obscure. Click Apply Redaction, then be sure to save a copy of the document. The text is now permanently obscured.
Select the Redaction tool from the navigation menu. Select the content you want to redact. A red box will appear around the selected content. Choose how you want redacted content to look (for example, replace content with a blank space or a black box).
0:00 1:41 Hi im chip wood and ill show how to use the photo app to blur objects or faces or use a black barMoreHi im chip wood and ill show how to use the photo app to blur objects or faces or use a black bar to do the same once you open photos you can drag an image right into the pane. Alternatively you can Use Mac Photos to blur faces and objects in images - YouTube youtube.com watch youtube.com watch
However, if you have an Apple Mac, then the in-built Preview app has a redaction tool which is really easy to use. Simply open your document in Preview, click Tools Redact and then select the text or image you wish to redact. Save and then close the document, and thats it. How to redact documents easily using the Apple Mac Preview App - W4MP w4mp.org 2023/10/21 how-to-redact-docume w4mp.org 2023/10/21 how-to-redact-docume
0:00 1:41 If you want to create an uneven blur select a smaller circle and use a jagged pattern. Hit done illMoreIf you want to create an uneven blur select a smaller circle and use a jagged pattern. Hit done ill zoom out return to the library. And drag the image to the desktop.
Using your mouse cursor, highlight the text you want to redact. A temporary red redaction box appears to let you confirm the text you wish to obscure. Click Apply Redaction, then be sure to save a copy of the document. The text is now permanently obscured. Edit PDF to Hide Content | Tungsten Automation Power PDF tungstenautomation.com learn blog ho tungstenautomation.com learn blog ho

See why our customers choose DocHub

Great solution for PDF docs with very little pre-knowledge required.
"Simplicity, familiarity with the menu and user-friendly. It's easy to navigate, make changes and edit whatever you may need. Because it's used alongside Google, the document is always saved, so you don't have to worry about it."
Pam Driscoll F
Teacher
A Valuable Document Signer for Small Businesses.
"I love that DocHub is incredibly affordable and customizable. It truly does everything I need it to do, without a large price tag like some of its more well known competitors. I am able to send secure documents directly to me clients emails and via in real time when they are viewing and making alterations to a document."
Jiovany A
Small-Business
I can create refillable copies for the templates that I select and then I can publish those.
"I like to work and organize my work in the appropriate way to meet and even exceed the demands that are made daily in the office, so I enjoy working with PDF files, I think they are more professional and versatile, they allow..."
Victoria G
Small-Business

Security and compliance

At DocHub, your data security is our priority. We follow HIPAA, SOC2, GDPR, and other standards, so you can work on your documents with confidence.

Learn more
ccpa2
pci-dss
gdpr-compliance
hipaa
soc-compliance
be ready to get more

Edit and sign PDFfor free

Get started now