
Add Conditional Fields to Template for E-sign on Tablet quickly
Aug 6th, 2022

0
forms filled out

0
forms signed

0
forms sent
01. Upload a document from your computer or cloud storage.
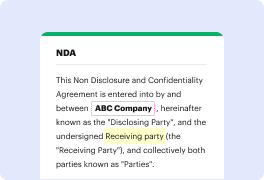
02. Add text, images, drawings, shapes, and more.
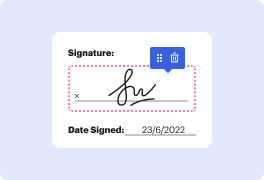
03. Sign your document online in a few clicks.
04. Send, export, fax, download, or print out your document.
Add Conditional Fields to Template for E-sign on Tablet
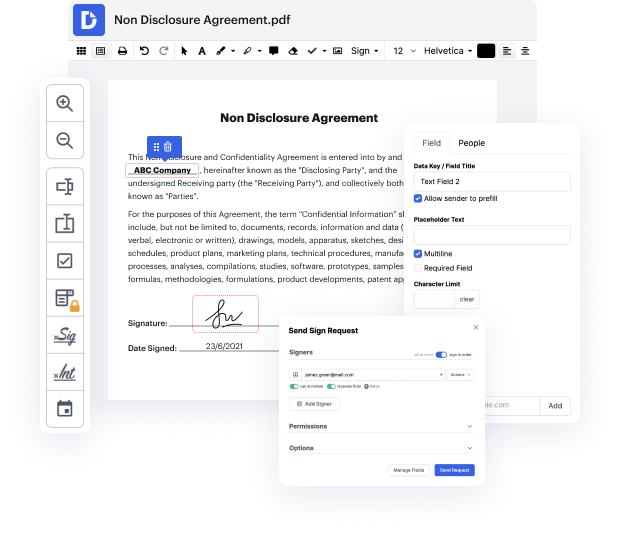
Our platform offers robust document management features that make editing, signing, and distributing your documents easier than ever. With deep integration into Google Workspace, users can seamlessly import, export, modify, and sign their documents. This guide will empower you to add conditional fields to your e-sign template using a tablet, ensuring a smooth and efficient workflow.
Follow the steps to add conditional fields...
- Open the editor in your web browser and log in to your account.
- Navigate to your templates section where you can select an existing template or create a new one.
- Once in the editor, choose the option to add fields and select 'conditional fields' from the available options.
- Set the conditions by specifying which fields will appear based on user inputs. This allows for a customized signing experience.
- Position the conditional fields appropriately within the template. You can resize and adjust them as needed.
- Preview your template to ensure that the conditional fields function as intended before finalizing.
- Once satisfied, save your changes and either download the template, print it, or share it with others for e-signing.
Start using our platform today and streamline your document management process for free!
PDF editing simplified with DocHub

Seamless PDF editing
Editing a PDF is as simple as working in a Word document. You can add text, drawings, highlights, and redact or annotate your document without affecting its quality. No rasterized text or removed fields. Use an online PDF editor to get your perfect document in minutes.

Smooth teamwork
Collaborate on documents with your team using a desktop or mobile device. Let others view, edit, comment on, and sign your documents online. You can also make your form public and share its URL anywhere.

Automatic saving
Every change you make in a document is automatically saved to the cloud and synchronized across all devices in real-time. No need to send new versions of a document or worry about losing information.

Google integrations
DocHub integrates with Google Workspace so you can import, edit, and sign your documents directly from your Gmail, Google Drive, and Dropbox. When finished, export documents to Google Drive or import your Google Address Book and share the document with your contacts.

Powerful PDF tools on your mobile device
Keep your work flowing even when you're away from your computer. DocHub works on mobile just as easily as it does on desktop. Edit, annotate, and sign documents from the convenience of your smartphone or tablet. No need to install the app.

Secure document sharing and storage
Instantly share, email, and fax documents in a secure and compliant way. Set a password, place your documents in encrypted folders, and enable recipient authentication to control who accesses your documents. When completed, keep your documents secure in the cloud.






Drive efficiency with the DocHub add-on for Google Workspace
Access documents and edit, sign, and share them straight from your favorite Google Apps.
Install now
Got questions?
Here are some common questions from our customers that may provide you with the answer you're looking for. If you can't find an answer to your question, please don't hesitate to reach out to us.
Contact us
Why is not allowing me to add fields?
Note: If you find you cannot add fields to the documents and templates you create, most likely this is because of your user permission profile. Contact your administrator and ask to adjust your permission settings. These settings are documented in this administrator help guide.
How do I add text to a template?
To begin adding text to a PDF, access the document within the platform for electronic signature and document management. Once you have opened the PDF within , you can easily navigate to the editing tools that allow you to insert text, signatures, dates, and more directly onto the document.
How do I add a text box to ?
How do I add a text field to a document in ? Go to []() and log in to your account. Select the document you want to add a text field to. Click and drag the text field to the desired location on the document.
How do I add fields to a template?
From the Fields palette at left, click and drag one of the available field types to add it to the active page. In the page guide at right, select a page you want to tag with fields. The selected page becomes the active page and displays in the center panel.
Does allow fillable fields?
You can use eSignature to quickly scroll through an interactive, fillable PDF and to fill in all necessary fields. eSignature automatically detects the fields and lets you tab or arrow from field to field.
How do I modify a template in ?
Navigate to the Templates page. Locate the template you wish to edit by searching, filtering, or simply scanning the Template list. Click the template actions menu and select Edit. If you do not see the Edit option, check with your administrator regarding your user permissions for templates.
How do you add fields for each witness recipient in ?
Add Fields to a Document Start a new envelope and add documents and recipients as usual, and then click NEXT. In the recipients list at the top of the page, select a person to add fields for. In the page guide at right, select a page you want to tag with fields.
See why our customers choose DocHub
Great solution for PDF docs with very little pre-knowledge required.

A Valuable Document Signer for Small Businesses.

I can create refillable copies for the templates that I select and then I can publish those.

Security and compliance
At DocHub, your data security is our priority. We follow HIPAA, SOC2, GDPR, and other standards, so you can work on your documents with confidence.
Learn more


