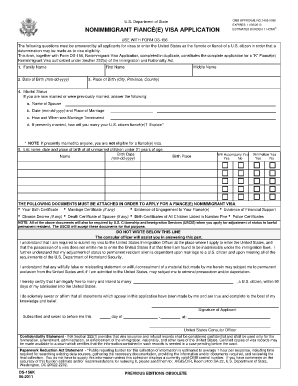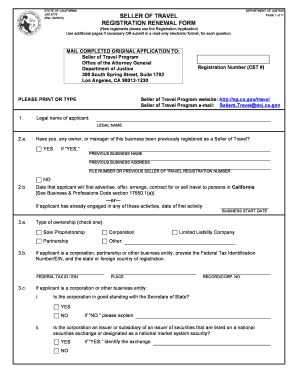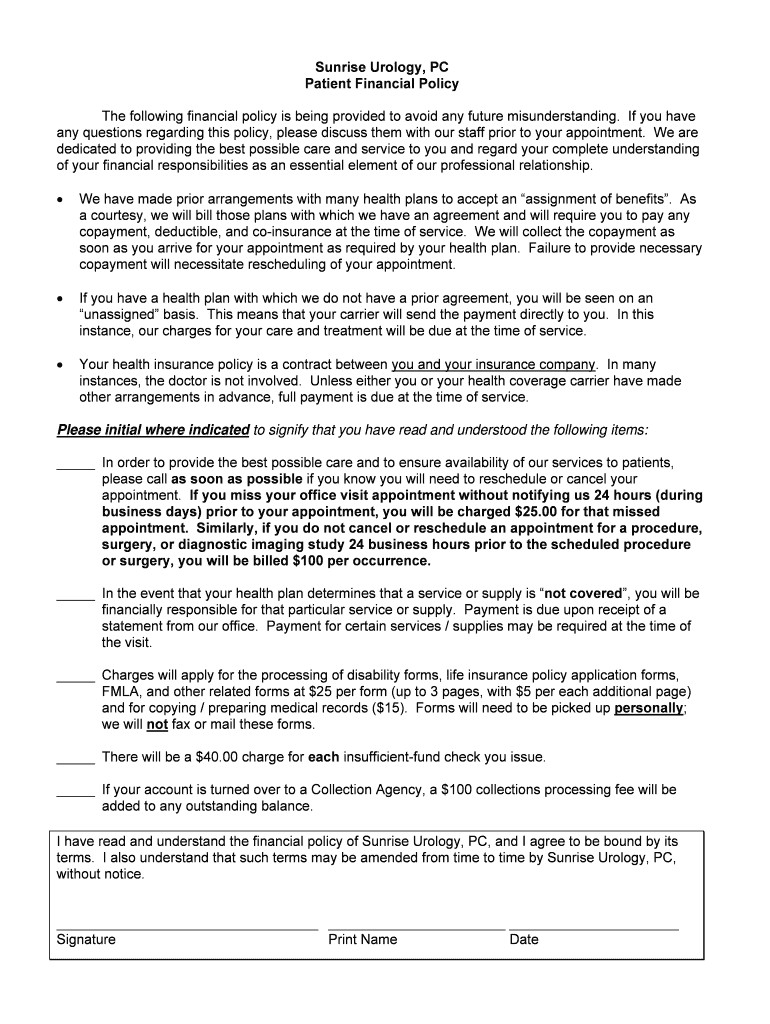


Definition and Meaning of "Registration Packet - Fillable"
A "Registration Packet - Fillable" is a digital document designed to collect essential information from individuals or entities while allowing for easy editing and completion through electronic means. These packets facilitate data entry by including interactive fields such as text boxes, checkboxes, and signature fields, streamlining the registration process for activities or services like healthcare visits, membership applications, or educational enrollments.
Steps to Complete the "Registration Packet - Fillable"
Completing a fillable registration packet can seem daunting, but it’s a straightforward process if handled step-by-step:
- Open the Document: Use a tool like DocHub, which supports various file formats including PDF, DOC, and more, to open your form on a desktop or mobile web browser.
- Fill in Personal Information: Start by entering basic information in the designated text fields such as name, address, and contact details. These fields are often mandatory and marked with an asterisk.
- Complete Additional Sections: Fill in any other necessary fields, which could include checkbox selections or dropdown menus, depending on your requirements.
- Add Signatures: If signatures are required, use an electronic signature option provided by platforms like DocHub. You can draw, type, or upload your signature image.
- Review and Submit: Double-check all entered information for accuracy. DocHub’s real-time synchronization feature ensures any changes are saved instantly, making the review process efficient.
Key Elements of the "Registration Packet - Fillable"
A well-structured fillable registration packet includes several crucial elements:
- Personal Information Section: Fields for entering identifiable information such as name, age, and contact details.
- Consent and Agreement Areas: Sections that require the user to agree to terms of service or privacy policies.
- Interactive Form Fields: Include text boxes, checkboxes, dropdown options, and signature fields to guide users through the filling process.
- Instructional Text: Provides guidance on how to complete the form correctly, ensuring that all necessary information is provided.
Legal Use of the "Registration Packet - Fillable"
The electronic format of registration packets must adhere to legal standards to ensure validity:
- Compliance with E-Signature Laws: Ensure that electronic signatures collected are legally binding by using platforms that conform to the ESIGN Act, such as DocHub, which provides an audit trail for every document.
- Data Protection: Employ 256-bit SSL encryption and password protection to secure personal information, aligning with U.S. privacy laws.
Who Typically Uses the "Registration Packet - Fillable"
Fillable registration packets cater to various users:
- Healthcare Providers: For patient intake processes and gathering medical history information.
- Educational Institutions: To streamline student registrations, including course enrollments or extracurricular activity sign-ups.
- Businesses: Utilize these packets for onboarding new employees or registering participants for events.


How to Obtain the "Registration Packet - Fillable"
Acquiring a fillable registration packet involves:
- Downloading from Official Websites: Many institutions or businesses offer these packets on their websites in a downloadable format, like PDF.
- Using Document Platforms: Platforms like DocHub allow users to create or import these packets from various cloud storage services or directly from a computer.
Examples of Using the "Registration Packet - Fillable"
Practical usage examples include:
- Event Registration: Organizers can distribute fillable packets for attendees to provide personal information and preferences, simplifying logistical planning.
- Membership Applications: Clubs or organizations use these packets to gather necessary details upon new member sign-ups.
State-Specific Rules for the "Registration Packet - Fillable"
Certain states in the U.S. may have specific requirements or guidelines:
- California: Must comply with the California Consumer Privacy Act (CCPA) when collecting personal data through fillable forms.
- New York: May have additional requirements for signatures under the state’s Electronic Signatures and Records Act (ESRA).
Understanding these state-specific rules ensures compliance and prevents legal complications when using fillable registration packets in different regions.