Type text, add images, blackout confidential details, add comments, highlights and more.
02. Sign it in a few clicks
Draw your signature, type it, upload its image, or use your mobile device as a signature pad.
03. Share your form with others
Send it via email, link, or fax. You can also download it, export it or print it out.
How to use or fill out SUPPORTIVE SERVICES ACCESS PLAN (SSAP) with our platform
Ease of Setup
DocHub User Ratings on G2
Ease of Use
DocHub User Ratings on G2
Click ‘Get Form’ to open the SUPPORTIVE SERVICES ACCESS PLAN in the editor.
Begin by entering the project name and address at the top of the form. This sets the context for your document.
Fill in the date in MM/DD/YYYY format to indicate when this annual update is being completed.
Complete the 'Owner' and 'Contact Information' sections, ensuring all details are accurate for effective communication.
In section A, specify the type of housing provided, including total units, bedrooms, and beds for each category such as Transitional Housing and Emergency Housing.
Describe the living situation types available for residents in section A. Check all that apply and provide additional descriptions if necessary.
Identify your target population in section B. Be specific about who will reside in your project and note any changes since the last review.
Proceed through sections C to J, providing detailed information about facility licensing, funding stability, resident services access, and any required action plans.
Start filling out your SUPPORTIVE SERVICES ACCESS PLAN today using our platform for free!
Fill out INSERT PROJECT NAME INSERT PROJECT ADDRESS online It's free
See more INSERT PROJECT NAME INSERT PROJECT ADDRESS versions
We've got more versions of the INSERT PROJECT NAME INSERT PROJECT ADDRESS form. Select the right INSERT PROJECT NAME INSERT PROJECT ADDRESS version from the list and start editing it straight away!
Insert project name insert project address templateInsert project name insert project address pdfInsert project name insert project address 2021How to make a project for schoolMS Word project for Students PDFCreate new project Visual Studio CodeNew Project StudioNew Project clothing
Security and compliance
At DocHub, your data security is our priority. We follow HIPAA, SOC2, GDPR, and other standards, so you can work on your documents with confidence.
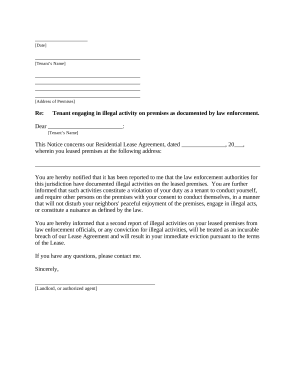
Letter from Landlord to Tenant about Tenant engaging in illegal activity in premises as documented by law enforcement and if repeated, lease terminates - Wisconsin
Letter from Landlord to Tenant about Tenant engaging in illegal activity in premises as documented by law enforcement and if repeated, lease terminates - Wisconsin
The document is a notice to a tenant regarding reported illegal activities occurring on the leased premises, which viola ...
Dec 3, 2024 2) Begin on the General tab of the Capital. Project Form. Create a project name by completing the Name field; the. Project Reporting NameRead more
Mar 16, 2015 In the Name field, enter a name for the project. Enter the Objective for the project. The Status dropdown determines if the project templateRead more
Cookie consent notice
This site uses cookies to enhance site navigation and personalize your experience.
By using this site you agree to our use of cookies as described in our Privacy Notice.
You can modify your selections by visiting our Cookie and Advertising Notice.