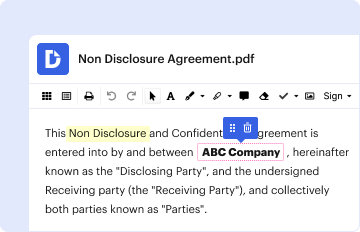
Type text, add images, blackout confidential details, add comments, highlights and more.
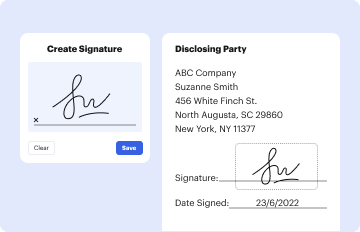
02. Sign it in a few clicks
Draw your signature, type it, upload its image, or use your mobile device as a signature pad.
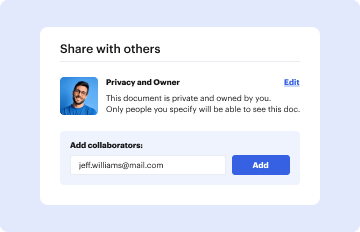
03. Share your form with others
Send it via email, link, or fax. You can also download it, export it or print it out.
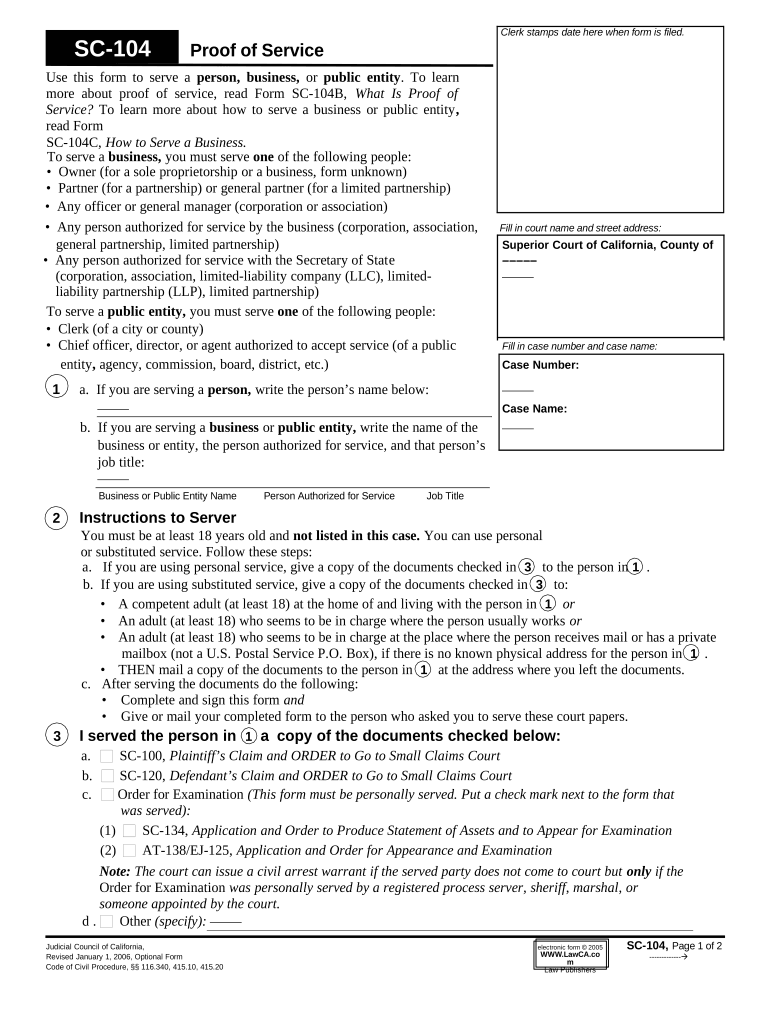
How to use or fill out proof claims with our platform
Ease of Setup
DocHub User Ratings on G2
Ease of Use
DocHub User Ratings on G2
Click ‘Get Form’ to open the Proof of Service form in the editor.
Begin by filling in the court name and street address at the top of the form. This ensures that your documents are directed to the correct location.
Next, specify whether you are serving a person or a business/public entity. If serving a person, write their name in the designated field. For businesses, include the business name and the authorized person's details.
In section 3, check off which documents you served. This is crucial for tracking what has been delivered.
Complete either personal or substituted service details in section 4, providing dates, times, and addresses as required.
Finally, fill out your information as the server in section 5 and sign where indicated to confirm that you have completed the service correctly.
Start using our platform today to streamline your proof claims process for free!
What happens after proof of claim is filedProof of claim exampleProof of Claim Form 410Proof of Claim instructionsFile Proof of claim onlineProof of claim form pdfForm 410 Proof of claim exampleProof of claim Chapter 13
Security and compliance
At DocHub, your data security is our priority. We follow HIPAA, SOC2, GDPR, and other standards, so you can work on your documents with confidence.
Cookie consent notice
This site uses cookies to enhance site navigation and personalize your experience.
By using this site you agree to our use of cookies as described in our Privacy Notice.
You can modify your selections by visiting our Cookie and Advertising Notice.