grease trap maintenance checklist
Fats, Oil, and Grease Best Management Practices Manual
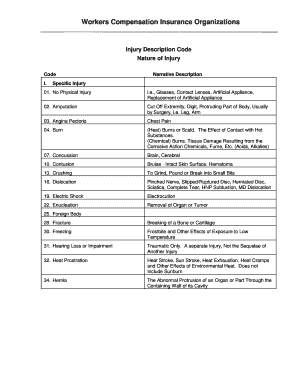
This manual focuses on proper maintenance of grease traps and interceptors, and includes inspection checklists for municipal pretreatment inspectors. Manual
Learn more
Immediate Health Hazards
Maintain your grease. interceptor or grease trap at least every 90 days by a licensed grease hauler. Maintain records of service. and grease pick-ups.
Learn more
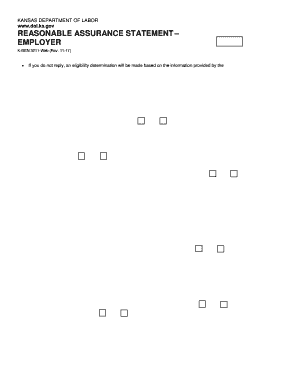
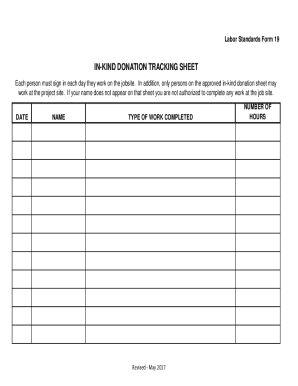
Grease Trap Inspection Report
The purpose of this checklist is to offer a general format to follow during inspections. All grease traps must be inspected and listed on this form. Return this
Learn more