

Assignment accounts 2026

Get Form
assignment accounts Preview on Page 1

Here's how it works

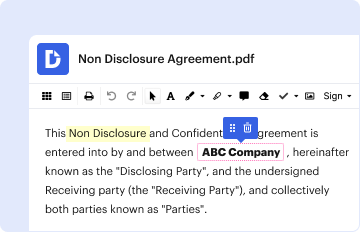
01. Edit your form online
Type text, add images, blackout confidential details, add comments, highlights and more.
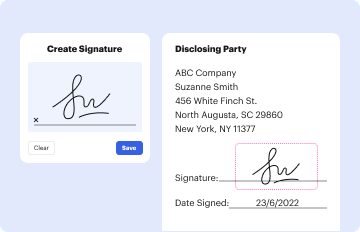
02. Sign it in a few clicks
Draw your signature, type it, upload its image, or use your mobile device as a signature pad.
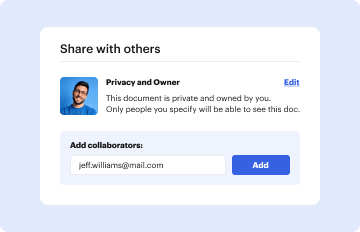
03. Share your form with others
Send it via email, link, or fax. You can also download it, export it or print it out.

How to use or fill out assignment accounts with our platform

Form edit decoration
9.5
Ease of Setup
DocHub User Ratings on G2
9.0
Ease of Use
DocHub User Ratings on G2
  1. Click ‘Get Form’ to open the assignment accounts document in the editor.
  2. Begin by entering the date of the assignment in the designated field at the top of the form.
  3. Fill in the name and address of the Assignor, ensuring all details are accurate for proper identification.
  4. Next, provide the name and address of the Assignee in the corresponding fields.
  5. In Section 1, review and confirm that you understand and agree to the terms of assignment regarding accounts receivable.
  6. Proceed to Section 2, where you will list each account being assigned. Fill in all required fields including Invoice Date, Debtor’s Name, Address, Due Date, and Invoice Amount.
  7. Complete Sections 3 through 12 by affirming statements about genuineness, shipment, validity of accounts, and solvency as applicable.
  8. Finally, ensure that both Assignor's name and signature are provided at the end of the document before saving or sharing.

Start using our platform today to streamline your document editing and signing process for free!

be ready to get more

Complete this form in 5 minutes or less

Get form

Security and compliance

At DocHub, your data security is our priority. We follow HIPAA, SOC2, GDPR, and other standards, so you can work on your documents with confidence.

Learn more
ccpa2
pci-dss
gdpr-compliance
hipaa
soc-compliance