

Final waiver form 2026

Get Form
final waiver form Preview on Page 1

Here's how it works

01. Edit your form online
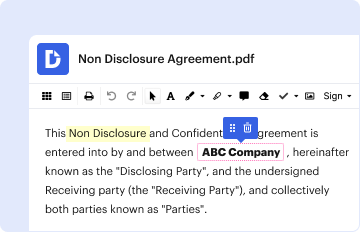
Type text, add images, blackout confidential details, add comments, highlights and more.
02. Sign it in a few clicks
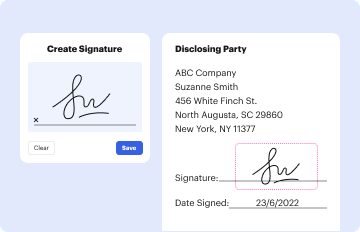
Draw your signature, type it, upload its image, or use your mobile device as a signature pad.
03. Share your form with others
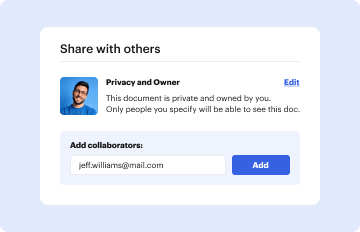
Send it via email, link, or fax. You can also download it, export it or print it out.

How to use or fill out final waiver form with DocHub

Form edit decoration
9.5
Ease of Setup
DocHub User Ratings on G2
9.0
Ease of Use
DocHub User Ratings on G2
  1. Click ‘Get Form’ to open the final waiver form in our editor.
  2. Begin by filling in the date at the top of the form. This is essential for establishing the timeline of your waiver.
  3. In the first blank, enter your name as the undersigned party. This identifies you as the individual waiving any lien rights.
  4. Next, input the contractor's name and the owner's name in their respective fields. This clarifies who is involved in this agreement.
  5. Describe the work or materials provided in detail. Be specific to ensure clarity regarding what is being waived.
  6. Fill in the legal description of the premises and county information accurately to avoid any disputes.
  7. State the amount being acknowledged for services rendered. This is crucial for validating your waiver.
  8. Sign and print your name at the bottom of the form, ensuring that all required signatures are completed.
  9. If necessary, have a notary public complete their section to finalize your document legally.

Start using our platform today to easily fill out and manage your final waiver form online for free!

be ready to get more

Complete this form in 5 minutes or less

Get form

Security and compliance

At DocHub, your data security is our priority. We follow HIPAA, SOC2, GDPR, and other standards, so you can work on your documents with confidence.

Learn more
ccpa2
pci-dss
gdpr-compliance
hipaa
soc-compliance