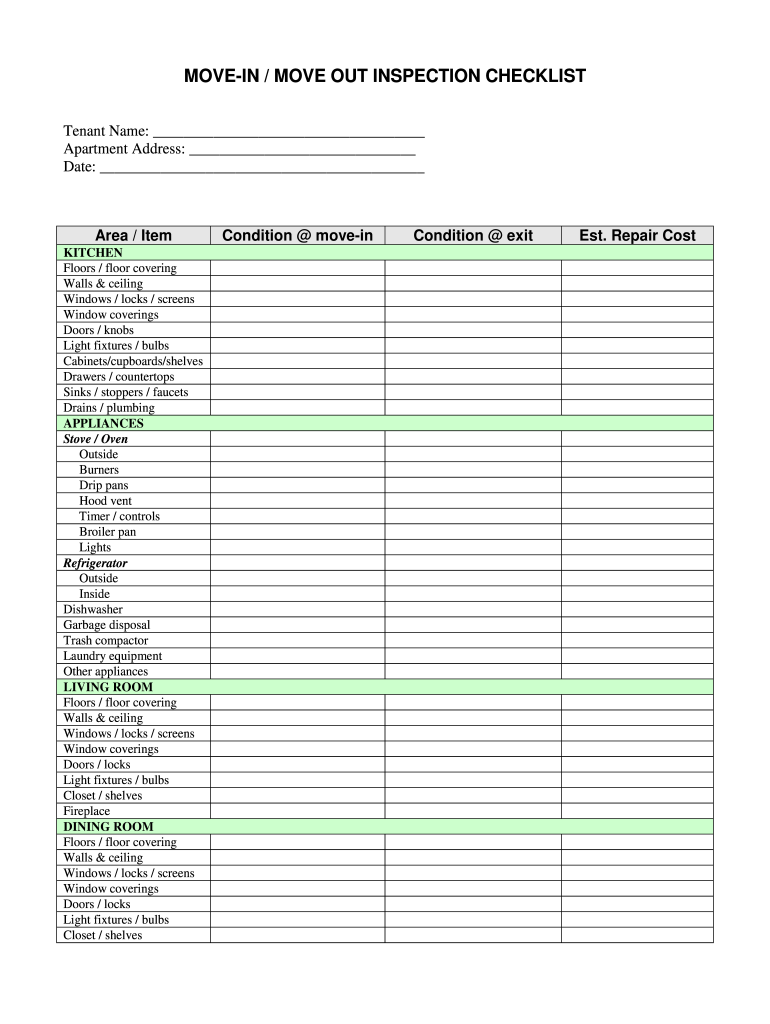

Definition & Meaning of the Move-In Move-Out Inspection Checklist
A Move-In Move-Out Inspection Checklist is a vital document used in the rental process to assess the condition of an apartment or property at the time a tenant moves in and when they move out. This checklist helps both tenants and property managers document existing conditions, which can protect against disputes regarding security deposits or property damages. Typically, the checklist contains specific sections for various areas of the apartment, including the kitchen, living room, bathrooms, and bedrooms, ensuring a comprehensive evaluation.
The move-in portion of the checklist allows tenants to note the condition of the property upon arrival, helping to establish a baseline that can be referred back to at the end of the lease. Conversely, the move-out portion assists property managers in identifying any damages or issues that may have arisen during the tenant's occupancy. By using this checklist, landlords and tenants can maintain transparency about property conditions, thus fostering a healthy rental relationship.
Key Elements of the Move-In Move-Out Inspection Checklist
The effectiveness of the Move-In Move-Out Inspection Checklist lies in its structured organization, focusing on essential areas and details. Here are the key elements typically included:
-
Room-by-Room Inspection: Each area of the property is inspected thoroughly.
- Living Room: Walls, floors, windows, and fixtures.
- Kitchen: Appliances, countertops, cabinets, and flooring.
- Bedrooms: Walls, carpets, windows, and any built-in furniture.
- Bathrooms: Fixtures, tiles, and plumbing state.
-
Specific Condition Notes: Each section includes space for detailed observations.
- Indicate cleanliness, presence of stains, or damage.
- Document existing issues to prevent future disputes.
-
Photographic Documentation: Encourage taking photos during inspections.
- Visual evidence supports the written notes.
- Useful for future reference to verify property conditions.
-
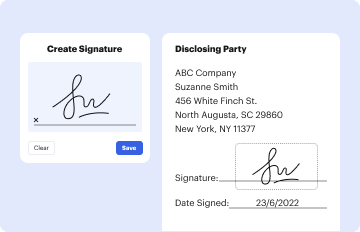
Signatures: A section for both the property manager and tenant to sign.
- Acknowledge the documented conditions.
- Serve as a mutual agreement on property status at both move-in and move-out stages.
-
Repair Costs: Including a section for estimated repair costs for any damages noted.
- Clear delineation of responsibility and potential deductions from the security deposit.
How to Use the Move-In Move-Out Inspection Checklist
Using the Move-In Move-Out Inspection Checklist involves a systematic approach that ensures all areas of the property are thoroughly evaluated. Here’s how to effectively implement it:
-
Preparation: Before the inspection, both tenants and property managers should have a physical or digital copy of the checklist. It can be beneficial to familiarize yourselves with the checklist format.
-
Conducting the Inspection: Scheduled during the move-in and move-out phases, the inspection should be performed comprehensively.
- The tenant and property manager should do the inspection together to ensure transparency.
- Use the checklist to methodically go from room to room, noting issues.
-
Documenting Condition: For each section, systematically record the state of each item.
- Use descriptive language for damage or issues.
- Make use of a digital tool, if available, to enhance organization.
-
Taking Photos: It’s advisable to take photos of any damages or significant items noted on the checklist.
- Attach these images to the digital or physical copy of the checklist for clarity.
-
Final Review and Signatures: After completing the inspection, review the checklist together.
- Allow both parties to agree on the documented conditions.
- Sign and date the checklist to confirm the understood state of the property.
State-Specific Rules for the Move-In Move-Out Inspection Checklist
Legal and procedural aspects surrounding the Move-In Move-Out Inspection Checklist can vary significantly from one state to another. Understanding these variations is essential for compliance with local rental laws. Key points to consider include:
-
California: In California, landlords are typically required to provide a Move-In Inspection Checklist to tenants before they sign a lease. The checklist must include a detailed note of any existing damages and a section for the tenant's comments.
-
New York: New York law mandates that landlords provide tenants with notice of any potential deductions from the security deposit, which should correspond with damages noted on the move-out checklist.
-
Alberta and Ontario: In Canada, provincial regulations may outline specific requirements for move-in and move-out inspections, including the process for how disputes are resolved should they arise.
-
Documentation Requirement: Some states require both tenants and landlords to keep copies of the checklists for a specified duration, facilitating dispute resolution if necessary.
Understanding these variations can help both parties adhere to legal requirements, ensuring that all aspects of the renting process are correctly documented and managed.
Examples of Using the Move-In Move-Out Inspection Checklist
Practical application of the Move-In Move-Out Inspection Checklist can illustrate its significance in the rental process. Here are a few scenarios showcasing its use:
-
Establishing a Baseline: When a new tenant moves in, they use the checklist to document existing scratches on the floor and stains on the walls. During the move-out inspection, the property manager checks these areas and finds no further damage, thus validating the tenant’s security deposit refund.
-
Mid-Tenancy Issues: A tenant may complete the inspection form midway through their lease to report a leak in the bathroom. Documenting this ensures the issue is addressed promptly, preventing further damage and disputes later.
-
Dispute Documentation: A tenant moves out and the property manager notes multiple damages not previously listed on the move-in checklist. By referring back to the original form, both the landlord and tenant can discuss repair costs and deductions fairly, based on documented evidence.
These examples emphasize the practical benefits of thorough documentation, helping to navigate the potential disputes that can arise in rental relationships.