


Definition & Meaning of the Paychex New Employee Packet
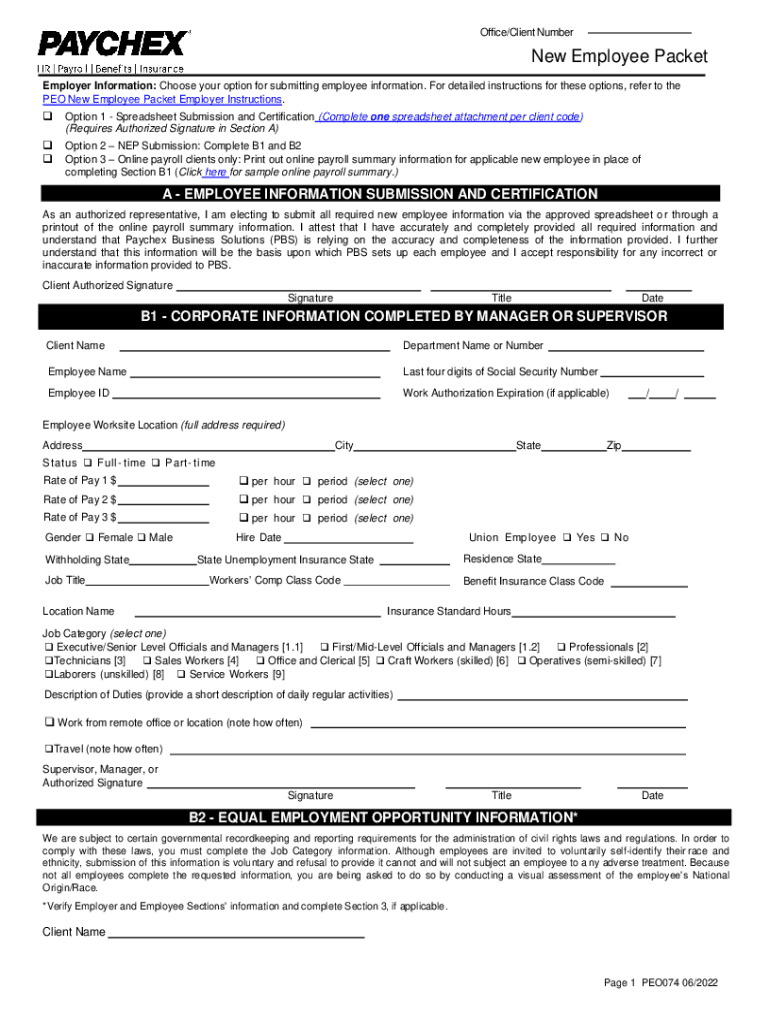
The Paychex New Employee Packet is a comprehensive collection of forms and information designed to facilitate the onboarding process for new employees within organizations that utilize Paychex Business Solutions. This packet outlines the essential procedures for submitting employee information and completing necessary tax and employment documentation. It typically includes forms such as the W-4 for tax withholding, health insurance enrollment forms, equal employment opportunity data, and acknowledgment of corporate policies.
In essence, the packet serves several critical functions:
- Onboarding: It standardizes the onboarding process, ensuring that all new hires provide accurate and necessary information.
- Compliance: It helps companies meet legal and regulatory requirements by ensuring that all documentation is correctly completed and stored.
- Employee Orientation: The packet provides essential information about the benefits available, workplace policies, and employee rights.
This packet is essential for new employees to understand their responsibilities, rights, and the benefits available to them.
Steps to Complete the Paychex New Employee Packet - Fill Online, Printable
Completing the Paychex New Employee Packet efficiently ensures that the onboarding process runs smoothly. Follow these systematic steps to complete the packet:
- Access the Document: Start by locating the Paychex New Employee Packet online or through your employer. The document is typically available for fillable online access or printable formats.
- Review the Instructions: Before entering any information, carefully read the instructions provided with the packet. Some sections may require specific formatting or additional documentation.
- Provide Personal Information: Fill in your personal details, such as full name, address, Social Security number, and contact information. Ensure all data is accurate to avoid processing delays.
- Complete Tax Forms: Fill out the W-4 form, where you will specify your marital status, number of allowances, and any additional withholdings. This information is crucial for determining your tax withholding.
- Choose Health Coverage Options: If included, review health insurance options provided in the packet. Complete the health coverage enrollment form by selecting your desired plan and providing any required details.
- Acknowledge Policies and Procedures: Sign and date any acknowledgment forms that outline company policies, equal employment opportunity information, and, if applicable, dispute resolution agreements.
- Review Completed Packet: Go through the entire packet to ensure all sections are filled out accurately and required signatures are present.
- Submit the Packet: Follow the provided instructions for submitting the completed document. This may involve online submission, mailing the forms, or turning them in during your first day at work.
This systematic approach will help new employees complete the packet accurately and efficiently.
Key Elements of the Paychex New Employee Packet
The Paychex New Employee Packet consists of several critical components that support both the employee and employer during the onboarding process. The key elements include:
- Personal Information Sheets: These forms collect essential details from the new employee, such as name, contact information, Social Security number, and emergency contact details. Accurate completion is vital for payroll setup and compliance.
- Tax Forms: Typically, the packet includes the W-4 tax form, required for determining withholding allowances. Understanding how to complete this form can significantly impact an employee's take-home pay.
- Health Insurance Enrollment Forms: For employees eligible for benefits, detailed information about health insurance options is provided. Employees must select their preferred coverage and complete the necessary forms to ensure coverage from their start date.
- Equal Employment Opportunity Notices: These documents inform employees about their rights regarding employment discrimination and provide information relevant to workplace diversity and inclusion policies.
- Dispute Resolution Agreements: Employers often include forms that outline the procedures in place for resolving potential workplace disputes. Signing such agreements signifies an understanding of and agreement to company policies.
Each element serves a distinct function in the onboarding process, ensuring both compliance and clear communication.
Legal Use of the Paychex New Employee Packet
The legal implications of the Paychex New Employee Packet are significant, as it serves as a foundational document set for employment relationships. Key aspects include:
- Compliance with Employment Laws: Employing proper forms helps organizations comply with federal and state employment laws. Inaccuracies in documentation can lead to legal issues related to tax withholding and employee rights.
- Protection of Employee Rights: By including information on equal employment opportunities and benefits, the packet ensures that new employees are informed of their rights within the workplace, thereby protecting their legal interests.
- Record Keeping: Maintaining accurate records of completed packets can be crucial for audits and compliance checks. Employers must ensure all forms are correctly filed and stored, in compliance with regulatory requirements.
- Binding Agreements: Certain documents within the packet may require signatures that bind the employee to specific terms and conditions regarding employment, dispute resolution, and policies. Understanding the content before signing is essential for new hires.
Acquainting oneself with the legal implications of the packet is critical for both new employees and employers to avoid potential disputes or miscommunications.
How to Obtain the Paychex New Employee Packet - Fill Online, Printable
Accessing the Paychex New Employee Packet can be accomplished through various channels, ensuring new employees can easily obtain and complete the required forms. Here are the primary methods:
- Employer Website: Many employers provide access to the Paychex New Employee Packet through their internal HR portals or websites. New hires can log in and download the packet directly.
- HR Department Contact: New employees can contact their Human Resources department to request a physical or digital copy of the packet. HR representatives can provide guidance on completing and submitting the forms.
- Paychex Online Services: If an employer uses Paychex services, new hires may also access the packet directly through the Paychex website or customer support. This ensures that employees are using the latest version of the packet.
- Email Distribution: Employers may choose to send the packet as an email attachment to new employees before their start date. This facilitates timely completion of the documents prior to the first day of work.
Utilizing these channels will ensure that new employees have timely access to the necessary documentation for a seamless onboarding experience.