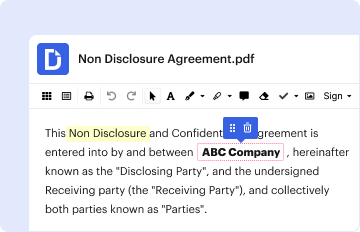
Type text, add images, blackout confidential details, add comments, highlights and more.
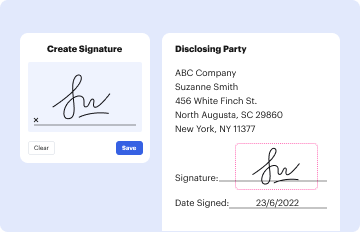
02. Sign it in a few clicks
Draw your signature, type it, upload its image, or use your mobile device as a signature pad.
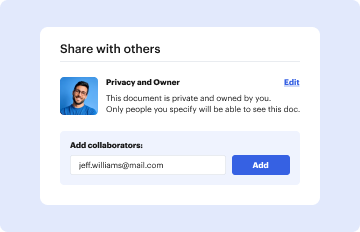
03. Share your form with others
Send it via email, link, or fax. You can also download it, export it or print it out.
How to rapidly redact Of course, organizations can 't online
Ease of Setup
DocHub User Ratings on G2
Ease of Use
DocHub User Ratings on G2
Dochub is a perfect editor for updating your paperwork online. Follow this simple guide to redact Of course, organizations can 't in PDF format online free of charge:
Register and log in. Create a free account, set a secure password, and proceed with email verification to start managing your forms.
Upload a document. Click on New Document and select the form importing option: add Of course, organizations can 't from your device, the cloud, or a secure URL.
Make changes to the template. Take advantage of the top and left-side panel tools to redact Of course, organizations can 't. Add and customize text, images, and fillable areas, whiteout unneeded details, highlight the significant ones, and provide comments on your updates.
Get your paperwork completed. Send the form to other parties via email, generate a link for faster file sharing, export the template to the cloud, or save it on your device in the current version or with Audit Trail added.
Discover all the benefits of our editor right now!
How do I import tests from one Blackboard course to another?
Import a test, survey, or pool On the Control Panel, expand the Course Tools section and select Tests, Surveys, and Pools. On the Tests, Surveys, and Pools page, select the item you want to import, such as Pools. Select Import.
How do I duplicate an assignment on Blackboard?
Copying individual course items On the Course Content page, select the three dot menu next to the search option on the Course Content page. Even if you select all checkboxes, this is still an individual item copy. Select a category to view available items for copy. Select Start Copy. Copies are a queued process.
How do I copy an entire course in Blackboard Ultra?
Full Course Copy Click on the three dots in the top-right corner. You will see a menu where you can click on Copy Items to go to the Copy Items Page. Find the course that needs to be copied from and select the checkbox next to it. On the right panel, click on Start Copy at the bottom.
How do I transfer content from one course to another in Blackboard?
Search for a course. Open the courses menu and select Copy. From the Select Copy Type menu, select Copy Course Materials into a New Course. In the Destination Course ID box, provide the course ID of the course youre adding the materials to.
How do I import a course from another course in Blackboard?
Import a course On the Administrator Panel in the Courses section, select Courses. Select Import Package. Provide the Destination Course ID. In the Select a Package section, select Browse to navigate to the course package and select Open.
Related Searches
Of course organizations can &# 39t meaningCopy of course organizations can &# 39thow to copy a course in blackboard ultracopy links and copies of the content (include entire course home folder)blackboard copy courseblackboard course copy vs exportcopy that courseblackboard export course
People also ask
How do I copy an announcement on Blackboard Ultra?
0:19 1:31 Blackboard Learn Ultra - Copy course content from Original to Ultra YouTube Start of suggested clip End of suggested clip And a message will appear in the bottom of the screen indicating that the content is being copied toMoreAnd a message will appear in the bottom of the screen indicating that the content is being copied to your course. And when the copy is complete a message will appear indicating it too.
How do I copy original content in Blackboard?
Open the previous Blackboard course you want to copy content from. In the left menu under Course Management, click Copy This Course. Under Select Copy Type, select Copy Course Materials into an Existing Course. For Destination Course ID, click the Browse button.
How do I move content from one folder to another in Blackboard?
In the Content Collection, go to the folder that contains the file or folder you want to move. Select the check box next to the item and select Move. You can also access the Move option in the items menu.
Related links
raw text
#39;ll become an addict and turn to crime.quot;nbsp;nbsp;And of course even thatgt; turns out to be an incredibly bad idea.nbsp;nbsp;Focusing our
This site uses cookies to enhance site navigation and personalize your experience.
By using this site you agree to our use of cookies as described in our Privacy Notice.
You can modify your selections by visiting our Cookie and Advertising Notice.... Read more...Read less