
Start using our platform today to streamline your document editing and certification process for free!
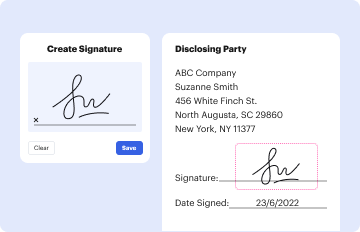
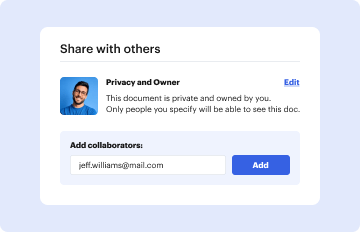
Upload your sika waterstop welding to DocHub (once you’ve created an account for this). If you need to complete fields in it, use proper tools from the upper pane. For instance, add Signature Fields, assign each to a particular party, and click on Sign → Request signatures from others. Customize your message for your recipients and click Send Request. You can also send your form by fax or as a Signing link instead of using email (you’ll find these options by navigating to the Menu → Send)
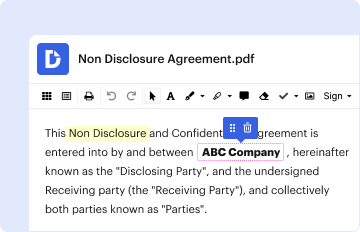
If you need to edit your sika waterstop welding on the internet quickly, it does not matter what browser you use. DocHub’s simple editing tools are available using any internet browser. Simply open the appropriate tab within our editor, add your file, and fill it out without stress.
At DocHub, your data security is our priority. We follow HIPAA, SOC2, GDPR, and other standards, so you can work on your documents with confidence.
Learn more