




Here's how it works
How to use or fill out melco group receipt 1 with our platform

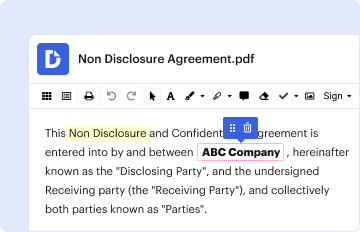
- Click ‘Get Form’ to open the melco group receipt 1 in the editor.
- Begin by filling in the 'Shipper/Exporter' section with your company details, including name, address, and contact information.
- Next, complete the 'Consignee' field with the recipient's name and address. Ensure accuracy for smooth delivery.
- Enter the 'Date' and 'Reference #' in their respective fields to track your shipment effectively.
- Fill in the 'BL/AWB #' and 'Booking #' sections to provide necessary shipping references.
- In the 'Particulars Furnished by Shipper' section, detail the number of packages and container numbers accurately.
- Finally, review all entries for correctness before saving or exporting your completed document.
Start using our platform today for free to streamline your document editing and signing process!
It's free
Got questions?
Can I type my eSignature on my melco group receipt 1?
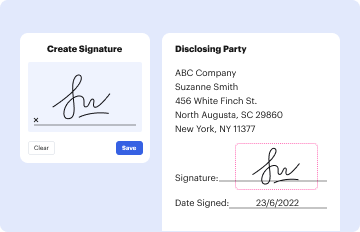
Yes, a typed name is accepted as a valid electronic signature when you add it to your form utilizing a compliant solution like DocHub. Simply upload your melco group receipt 1 to our editor, click Sign in the top tool pane → Create your signature → Type your name in the appropriate tab, and decide how it will look on your document.
How do you fill out melco group receipt 1 on iOS?
You need only a web connection and a web browser to complete your melco group receipt 1 on an iOS phone. Open the DocHub website and authenticate. Then, add your document or choose it from the list in your dashboard. Then use our editing tools to complete your form and save all your changes. You can also send it to a dedicated recipient immediately.
Security and compliance
At DocHub, your data security is our priority. We follow HIPAA, SOC2, GDPR, and other standards, so you can work on your documents with confidence.
Learn more


