




Here's how it works
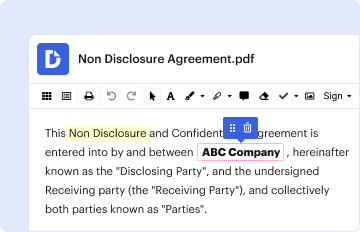
01. Edit your tufts expense transfer form online
Type text, add images, blackout confidential details, add comments, highlights and more.
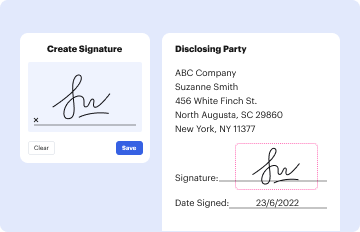
02. Sign it in a few clicks
Draw your signature, type it, upload its image, or use your mobile device as a signature pad.

03. Share your form with others
Send it via email, link, or fax. You can also download it, export it or print it out.
How to use or fill out Expense Transfer Entry Form with DocHub

- Click ‘Get Form’ to open the Expense Transfer Entry Form in our platform's editor.
- Begin by entering your 'Telephone Ext' and 'Date Prepared' at the top of the form. This information is essential for tracking and communication.
- In the 'Line #' section, sequentially number each expense entry. Ensure that you fill in the corresponding 'Ledger', 'Business Unit', and 'Account' fields accurately for each line item.
- For each entry, specify the 'DeptID', 'Project/Grant', and 'Fund'. These details help categorize expenses correctly.
- In the 'Journal Line Description' field, provide a brief explanation of the expense. Then, enter the amount in the 'Amount (+ or -)' field, ensuring that your total equals $0 as required.
- Select an appropriate explanation code from the list provided based on your transfer reason. If necessary, add further explanations below.
- Complete the Transfer Checklist if applicable, especially for grant transfers, ensuring all conditions are met.
- Finally, obtain necessary signatures for authorization in both debit and credit sections before submitting your form.
Start using our platform today to streamline your Expense Transfer Entry Form process for free!
Fill out Expense Transfer Entry Form online
It's free
It's free
See more Expense Transfer Entry Form versions
We've got more versions of the Expense Transfer Entry Form form. Select the right Expense Transfer Entry Form version from the list and start editing it straight away!
Security and compliance
At DocHub, your data security is our priority. We follow HIPAA, SOC2, GDPR, and other standards, so you can work on your documents with confidence.
Learn more


Related forms

OmniForm Form - Los Angeles County
The document is an Adult Re-Assessment form used by the Los Angeles County Department of Mental Health. It outlines the ...

Victor valley community college district volunteer form
The document is a Volunteer Form for Victor Valley Community College District, requiring volunteers to provide personal ...

Student Research Stipend
The document is a Research Stipend Contract outlining the payment details for a stipend awarded for research conducted a ...
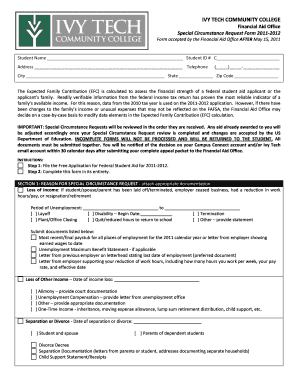
Ivy tech special circumstances form do
The document is a Special Circumstance Request Form for financial aid at Ivy Tech Community College for the 2011-2012 ac ...
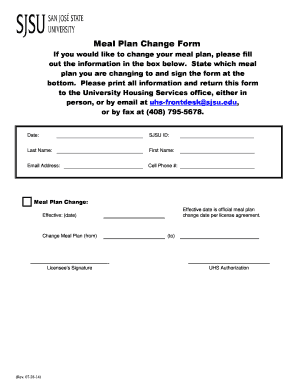
Sjsu meal plan change
The document is a Meal Plan Change Form for students at SJSU, allowing them to request changes to their meal plans. It r ...

Military Leave Request Form - NC State University
The document is a Military Leave Request Form designed for employees to request military leave. It includes sections for ...
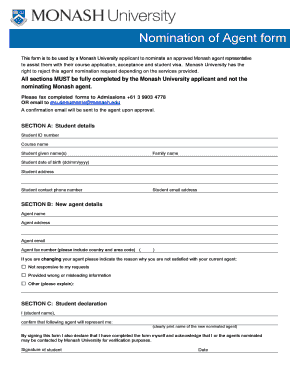
Monash agent nomination form
The document is a Nomination of Agent form for Monash University applicants to appoint an approved agent representative ...
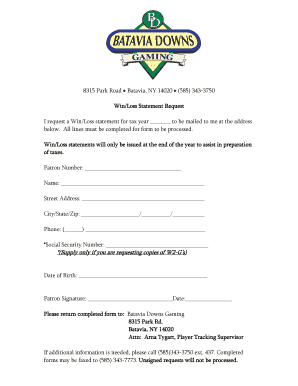
Batavia downs win loss statement
The document is a request form for a Win/Loss statement for tax purposes from Batavia Downs Gaming. It requires the requ ...