01. Edit your appointmentplus client log in online
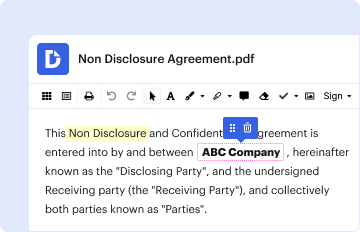
Type text, add images, blackout confidential details, add comments, highlights and more.
02. Sign it in a few clicks
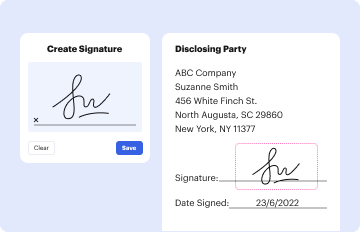
Draw your signature, type it, upload its image, or use your mobile device as a signature pad.
03. Share your form with others
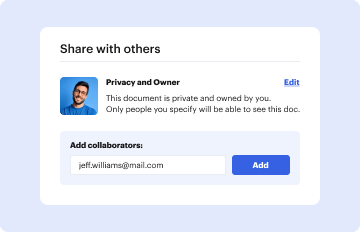
Send appointmentplus client login via email, link, or fax. You can also download it, export it or print it out.
How to Use or Fill Out Client Appointment with Our Platform
Ease of Setup
DocHub User Ratings on G2
Ease of Use
DocHub User Ratings on G2
Click ‘Get Form’ to open the client appointment document in the editor.
Begin by entering the date at the top of the form. This sets the context for your appointment confirmation.
Fill in the proposed client's name and address details accurately to ensure clear communication.
Specify the appointment date and time in the designated fields, ensuring it matches your scheduled meeting.
In the body of the letter, personalize it by including the attorney's name and any additional information relevant to your client.
If applicable, complete the optional client interview form attached. Make sure to fill out as much information as possible before bringing it to your appointment.
Review all entered information for accuracy and completeness before saving or sending your document.
Start using our platform today for free to streamline your client appointment process!
Appointment Scheduling Problem in Complexity Systems of
by A Ala 2022 Cited by 175 This paper provides a comprehensive review of Appointment Scheduling (AS) in healthcare service while we propose appointment scheduling problems and variousRead more
Cookie consent notice
This site uses cookies to enhance site navigation and personalize your experience.
By using this site you agree to our use of cookies as described in our Privacy Notice.
You can modify your selections by visiting our Cookie and Advertising Notice.