Create your Name Change Notification Form from scratch

Start Building Now
Title decoration

Here's how it works

01. Start with a blank Name Change Notification Form
Open the blank document in the editor, set the document view, and add extra pages if applicable.
02. Add and configure fillable fields
Use the top toolbar to insert fields like text and signature boxes, radio buttons, checkboxes, and more. Assign users to fields.
03. Distribute your form
Share your Name Change Notification Form in seconds via email or a link. You can also download it, export it, or print it out.

A quick tutorial on how to set up a polished Name Change Notification Form

Form edit decoration

Step 1: Sign in to DocHub to begin creating your Name Change Notification Form.

First, log in to your DocHub account. If you don't have one, you can simply sign up for free.

Step 2: Head to the dashboard.

Once logged in, navigate to your dashboard. This is your primary hub for all document-based processes.

Step 3: Initiate new document creation.

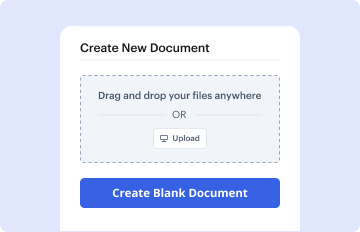
In your dashboard, select New Document in the upper left corner. Opt for Create Blank Document to build the Name Change Notification Form from a blank slate.

Step 4: Add form elements.

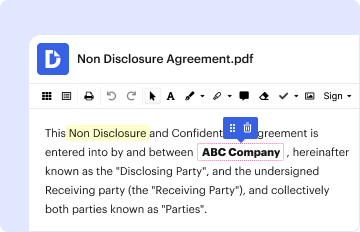
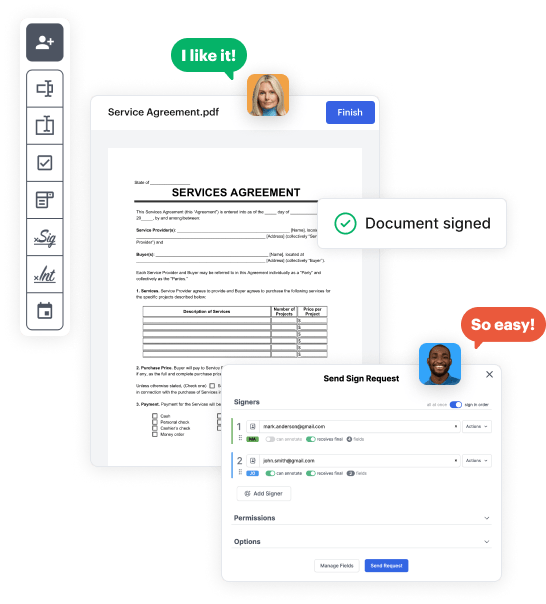
Add various elements like text boxes, photos, signature fields, and other interactive areas to your form and assign these fields to certain users as necessary.

Step 5: Configure your template.

Personalize your document by inserting guidelines or any other required information leveraging the text tool.

Step 6: Review and tweak the document.

Carefully go over your created Name Change Notification Form for any typos or needed adjustments. Utilize DocHub's editing tools to enhance your template.

Step 7: Send out or download the template.

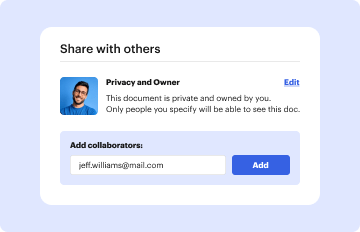
After finalizing, save your work. You can select to save it within DocHub, transfer it to various storage services, or forward it via a link or email.

be ready to get more

Build your Name Change Notification Form in minutes

Start creating now

Got questions?

We have answers to the most popular questions from our customers. If you can't find an answer to your question, please contact us.
Contact us
You will have to mention the details like your old name, new name, the reason why you changed it, verification documents, and your signature in the request letter for changing your name. For a clear understanding, it is always better to look at some samples.
How to write a name change announcement in 5 steps Be positive. Regardless of the reason for the name change, its important to use a positive tone. Explain the change. Address product changes. Address clients and customers. Present action. Inform employees. Update materials. Notify the press.
Telling organisations about your name change Government bodies such as HM Passport Office will want to see your original deed poll, as will banks and other financial institutions, but most other organisations will accept a photocopy.
This announcement can be made through email, the company website, social media or an official blog post from the CEO. No matter which platform, the message should be communicated in a positive and enthusiastic manner to instill trust and excitement in all customers.
Salutation is done, e.g. Dear Sir or Madam, Respected Sir/Maam. Then the main body of the letter is written, which includes your old name and your new name, and a request to update it. Thank you/Thank you in anticipation/Thank you in advance. End the letter with Yours faithfully, Yours sincerely.
be ready to get more

Build your Name Change Notification Form in minutes

Start creating now

Related Q&A to Name Change Notification Form

Single-member LLCs: Write to the IRS at the address where you filed your return informing the agency of the name change. Multi-member LLCs: If youre a multi-member LLC and taxed as a partnership, mark the name change box on Form 1065 when you file your annual return.

Additional resources on building your forms