
Create your Legal Bankruptcy Document from scratch
Start Building Now




Here's how it works
A simple tutorial on how to build a professional-looking Legal Bankruptcy Document
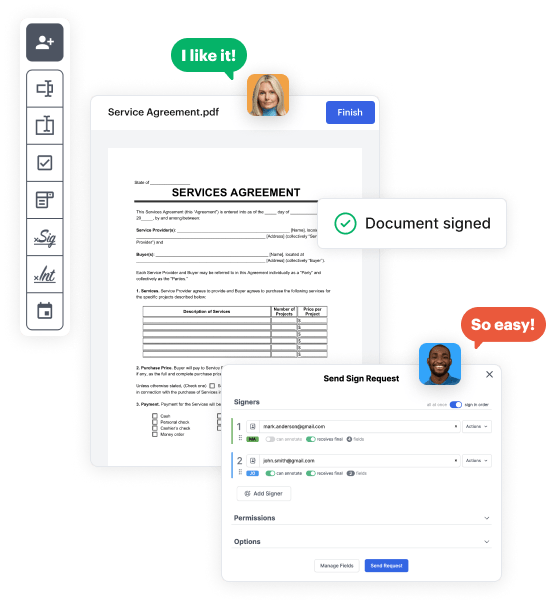
Step 1: Log in to DocHub to begin creating your Legal Bankruptcy Document.
First, sign in to your DocHub account. If you don't have one, you can simply register for free.
Step 2: Go to the dashboard.
Once signed in, go to your dashboard. This is your central hub for all document-focused operations.
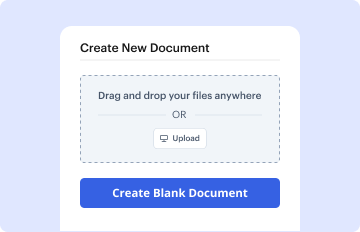
Step 3: Launch new document creation.
In your dashboard, choose New Document in the upper left corner. Hit Create Blank Document to design the Legal Bankruptcy Document from the ground up.
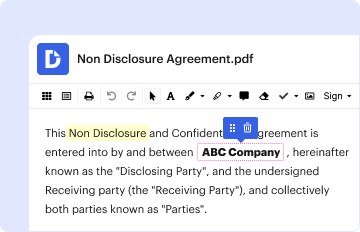
Step 4: Insert form fillable areas.
Add various items like text boxes, photos, signature fields, and other interactive areas to your form and assign these fields to intended individuals as required.
Step 5: Adjust your template.
Refine your form by inserting instructions or any other required information utilizing the text feature.
Step 6: Double-check and modify the document.
Attentively review your created Legal Bankruptcy Document for any typos or necessary adjustments. Take advantage of DocHub's editing tools to fine-tune your template.
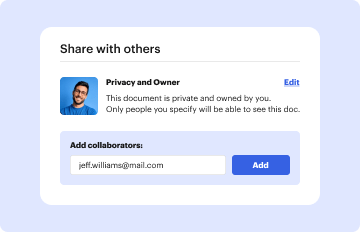
Step 7: Send out or download the template.
After completing, save your copy. You may select to keep it within DocHub, export it to various storage options, or forward it via a link or email.