Create your Demand promissory note Canada Form from scratch
Start Building Now




Here's how it works
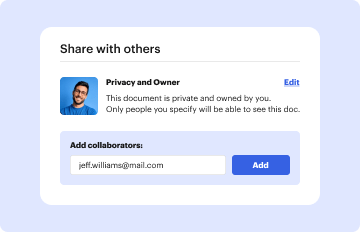
Build Demand promissory note Canada Form from the ground up with these comprehensive guidelines
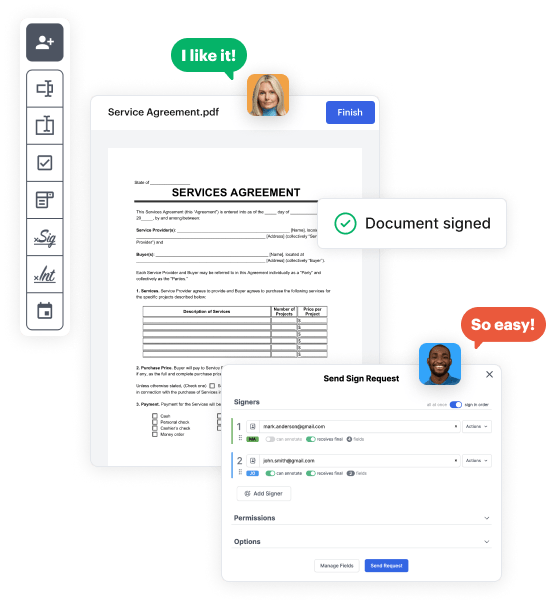
Step 1: Get started with DocHub.
Begin by setting up a free DocHub account using any available sign-up method. If you already have one, simply log in.
Step 2: Sign up for a 30-day free trial.
Try out the whole set of DocHub's pro tools by registering for a free 30-day trial of the Pro plan and proceed to build your Demand promissory note Canada Form.
Step 3: Create a new blank form.
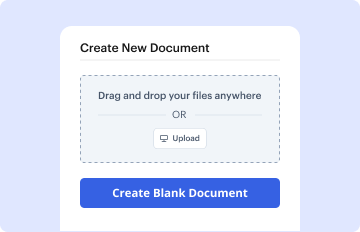
In your dashboard, choose the New Document button > scroll down and choose to Create Blank Document. You will be taken to the editor.
Step 4: Organize the document’s layout.
Use the Page Controls icon marked by the arrow to switch between two page views and layouts for more flexibility.
Step 5: Start adding fields to design the dynamic Demand promissory note Canada Form.
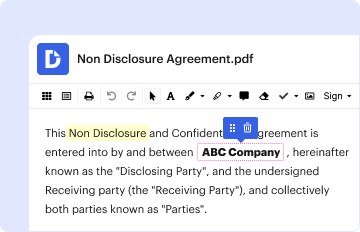
Explore the top toolbar to add document fields. Add and format text boxes, the signature block (if applicable), insert images, etc.
Step 6: Prepare and configure the incorporated fields.
Configure the fields you incorporated per your desired layout. Personalize the size, font, and alignment to make sure the form is easy to use and professional.
Step 7: Finalize and share your document.
Save the finalized copy in DocHub or in platforms like Google Drive or Dropbox, or craft a new Demand promissory note Canada Form. Distribute your form via email or use a public link to reach more people.