
Create your Debt validation Canada Form from scratch
Start Building Now




Here's how it works
Design your Debt validation Canada Form in a matter of minutes
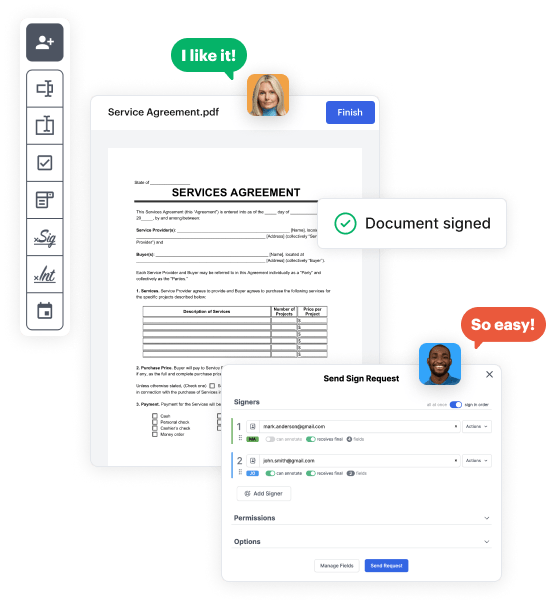
Step 1: Access DocHub to set up your Debt validation Canada Form.
Start by accessing your DocHub account. Explore the advanced DocHub functionality at no cost for 30 days.
Step 2: Navigate to the dashboard.
Once signed in, go to the DocHub dashboard. This is where you'll build your forms and handle your document workflow.
Step 3: Design the Debt validation Canada Form.
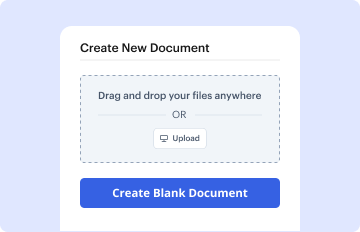
Hit New Document and select Create Blank Document to be redirected to the form builder.
Step 4: Set up the form layout.
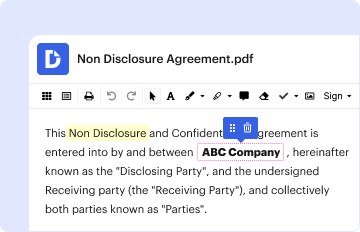
Use the DocHub tools to insert and arrange form fields like text areas, signature boxes, images, and others to your document.
Step 5: Add text and titles.
Include needed text, such as questions or instructions, using the text field to guide the users in your document.
Step 6: Configure field properties.
Modify the properties of each field, such as making them required or formatting them according to the data you plan to collect. Designate recipients if applicable.
Step 7: Review and save.
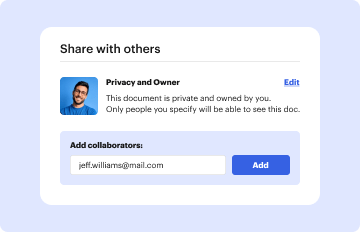
After you’ve managed to design the Debt validation Canada Form, make a final review of your document. Then, save the form within DocHub, send it to your selected location, or share it via a link or email.