Create your Netherlands visa Application Form from scratch

Start Building Now
Title decoration

Here's how it works

01. Start with a blank Netherlands visa Application Form
Open the blank document in the editor, set the document view, and add extra pages if applicable.
02. Add and configure fillable fields
Use the top toolbar to insert fields like text and signature boxes, radio buttons, checkboxes, and more. Assign users to fields.
03. Distribute your form
Share your Netherlands visa Application Form in seconds via email or a link. You can also download it, export it, or print it out.

Create Netherlands visa Application Form from scratch by following these comprehensive guidelines

Form edit decoration

Step 1: Get started with DocHub.

Begin by signing up for a free DocHub account using any offered sign-up method. Simply log in if you already have one.

Step 2: Sign up for a 30-day free trial.

Try out the whole suite of DocHub's advanced tools by signing up for a free 30-day trial of the Pro plan and proceed to build your Netherlands visa Application Form.

Step 3: Build a new empty form.

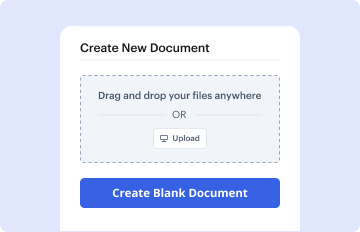
In your dashboard, hit the New Document button > scroll down and hit Create Blank Document. You’ll be taken to the editor.

Step 4: Arrange the view of the document.

Utilize the Page Controls icon indicated by the arrow to toggle between two page views and layouts for more convenience.

Step 5: Start adding fields to design the dynamic Netherlands visa Application Form.

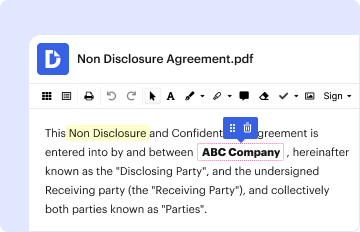
Navigate through the top toolbar to place document fields. Insert and format text boxes, the signature block (if applicable), add photos, and other elements.

Step 6: Prepare and configure the added fields.

Configure the fillable areas you added per your preferred layout. Modify each field's size, font, and alignment to ensure the form is user-friendly and neat-looking.

Step 7: Finalize and share your form.

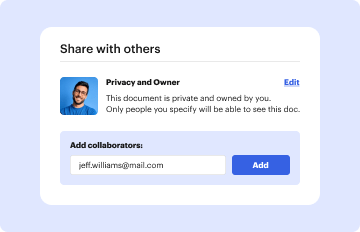
Save the finalized copy in DocHub or in platforms like Google Drive or Dropbox, or create a new Netherlands visa Application Form. Share your form via email or use a public link to engage with more people.

be ready to get more

Build your Netherlands visa Application Form in minutes

Start creating now

Got questions?

We have answers to the most popular questions from our customers. If you can't find an answer to your question, please contact us.
Contact us
Step-by-step guide Identify visa type. Choose the right visa for your trip. Begin your application. Get started with your visa application. Book an appointment. Choose a Visa Application Centre and make an appointment. Pay your fees. Visit a visa application centre. Track your application. Collect your passport.
Access the online DS-160 by clicking: Consular Electronic Application Center website.
Option A: Retrieve Your Application and Re-Create Log into the Consular Electronic Application Center (CEAC) system and select Retrieve an Application using your application number. Select Create a New Application. Most of the form should auto-populate with your previous information and the responses you completed.
Yes, you will have to go through the whole visa application process each time you want to apply for a visa, even if your visa is still valid. There are some situations where a visa applicant may not need to be interviewed when renewing his/her visa. See the U.S. Embassy or Consulate website for more information.
Visa application forms You can fill in an application form online through your account in the online portal of the Ministry of Foreign Affairs. Select the visa you need. In the online portal, create an account or log into your existing account. Then fill in the application form.
be ready to get more

Build your Netherlands visa Application Form in minutes

Start creating now

Related Q&A to Netherlands visa Application Form

At your appointment you: submit the documents that are on your checklist, together with your passport. provide your fingerprints (only if you are 12 or older) answer questions about your trip. pay the visa fees. indicate whether you want to collect your passport (with visa affixed) or have it sent to you.
If it has been more than 30 days since your DS-160 application was submitted, you will need to can re-upload the submitted application in CEAC before correcting the errors. In order to do this, your original submission must have been downloaded and saved on your computer or any other device.
(1) Where an applicant has an outstanding application for entry clearance or permission to stay which has not been decided (the previous application), any further application for entry clearance or permission to stay will be treated as an application to vary the previous application and only the most recent

Additional resources on building your forms