Create your American embassy visa Application Form from scratch

Start Building Now
Title decoration

Here's how it works

01. Start with a blank American embassy visa Application Form
Open the blank document in the editor, set the document view, and add extra pages if applicable.
02. Add and configure fillable fields
Use the top toolbar to insert fields like text and signature boxes, radio buttons, checkboxes, and more. Assign users to fields.
03. Distribute your form
Share your American embassy visa Application Form in seconds via email or a link. You can also download it, export it, or print it out.

Create your American embassy visa Application Form in a matter of minutes

Form edit decoration

Step 1: Access DocHub to set up your American embassy visa Application Form.

Begin by accessing your DocHub account. Try out the advanced DocHub functionality at no cost for 30 days.

Step 2: Go to the dashboard.

Once signed in, go to the DocHub dashboard. This is where you'll build your forms and manage your document workflow.

Step 3: Create the American embassy visa Application Form.

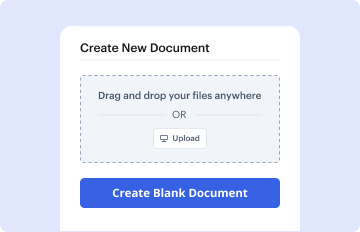
Click on New Document and choose Create Blank Document to be taken to the form builder.

Step 4: Set up the form layout.

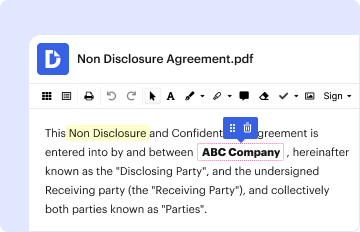
Use the DocHub tools to insert and arrange form fields like text areas, signature boxes, images, and others to your document.

Step 5: Insert text and titles.

Include necessary text, such as questions or instructions, using the text field to guide the users in your document.

Step 6: Configure field properties.

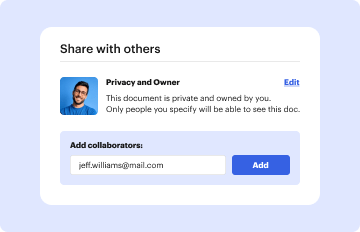
Modify the properties of each field, such as making them required or formatting them according to the data you expect to collect. Assign recipients if applicable.

Step 7: Review and save.

After you’ve managed to design the American embassy visa Application Form, make a final review of your document. Then, save the form within DocHub, send it to your selected location, or share it via a link or email.

be ready to get more

Build your American embassy visa Application Form in minutes

Start creating now

Got questions?

We have answers to the most popular questions from our customers. If you can't find an answer to your question, please contact us.
Contact us
Yes, as long as the visas are for different purposes. For example it is OK to have a B1/B2 (tourist/business) and F1 (student) together, but not OK to have two valid F1 visas.
If you wish to apply for a new visa, you will be required to pay a new MRV fee and complete a new Form DS-160.
Submitting multiple visa applications for the same type of visa can slow the decision process. For visitor visas, submit one application per person, including children.
Step-by-step guide Identify visa type. Choose the right visa for your trip. Begin your application. Get started with your visa application. Book an appointment. Choose a Visa Application Centre and make an appointment. Pay your fees. Visit a visa application centre. Track your application. Collect your passport.
If it has been more than 30 days since your DS-160 application was submitted, you will need to can re-upload the submitted application in CEAC before correcting the errors. In order to do this, your original submission must have been downloaded and saved on your computer or any other device.
be ready to get more

Build your American embassy visa Application Form in minutes

Start creating now

Related Q&A to American embassy visa Application Form

If you have created a profile and paid the visa fee on the old system, but have not yet scheduled the appointment, you will need to create a new account on U.S. Visa Scheduling to proceed with appointment scheduling.
To apply, you must first submit your application and make an appointment online. Step 1: Fill out the DS-160 Application Form. Step 2: Login to the U.S. Non-Immigrant Visa Applicant Website. Step 3: Prepare the Required Documentation. Step 4: Visit the U.S. Non-Immigrant Visa Applicant Website.
Option A: Retrieve Your Application and Re-Create Log into the Consular Electronic Application Center (CEAC) system and select Retrieve an Application using your application number. Select Create a New Application. Most of the form should auto-populate with your previous information and the responses you completed.

Additional resources on building your forms