
Si está completando documentos manualmente y entregando copias físicas, está atrasado en el tiempo. Es ineficaz: cada error que cometa resulta en la necesidad de volver a imprimirlo y comenzar a completarlo desde el principio. Considere DocHub, una solución poderosa y confiable para modificar documentos que le permitirá preparar cualquier papeleo con un mínimo de tiempo y esfuerzo invertidos.
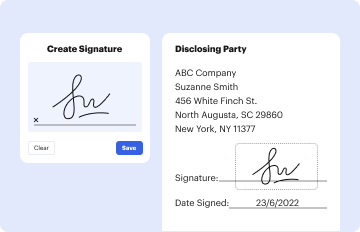
Obtenga su Manual de Smartforms Financial Inclusion completado y aprobado rápidamente con firmas electrónicas legalmente vinculantes en minutos en lugar de horas o días con DocHub. ¡Pruebe hoy mismo!
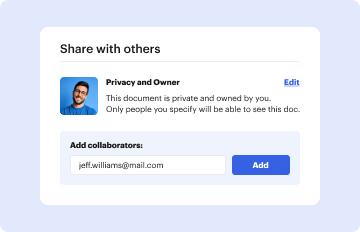
You should use only reliable software solutions with strong data protection compliance to sign your paperwork electronically. DocHub is just the type of service you need! It stores data on Amazon Web Servers and complies with all required security requirements and eSignature regulations, so it’s a trustworthy way to eSign your Manual de Smartforms Financial Inclusion or other documents using this tool.
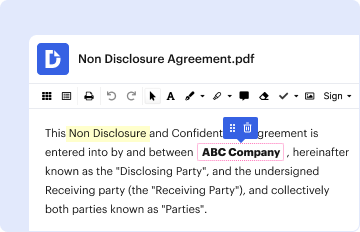
If you need to edit your Manual de Smartforms Financial Inclusion on the internet quickly, it does not matter what web browser you use. DocHub’s straightforward editing tools are available using any internet browser. Simply open the appropriate tab in the editor, add your file, and fill it out without stress.